Travel Trailer Build
I am finally getting around to sharing the story of building the trailer that took me and my girlfriend and my dog around the United States. I have a trailer load of images and videos I took while building out this camper. The finished product is the best thing I’ve ever created (so far), I put 3 months of solid work into this project. Double shifts day and night; designing, building, studying endless Youtube videos, taking notes and perfecting my design. Its the best work I’ve ever done and I am so proud of it. Proud to a level of annoyance for my girlfriend who suffered my wrath every time she spilled a drink or didn’t use a coaster.
I built what was to be our home for the summer while staying in my friends house in PA. He needed some work done on his house to bring it up to code for an airbnb venture he wished to pursue. So i offered a trade of my construction experience for a place to stay and work on my trailer. In the end it turned out to a huge ask as I totally underestimated how long it would take and the cost of everything.
Many lessons were learned on this project, more learned on the trip that followed. Relationships were made stronger. Treasured memories were created but it wasn’t always easy. There was struggle and there was loss. Life on the road can be quite laborious and when life throws a curve ball at you its not a good place to be.
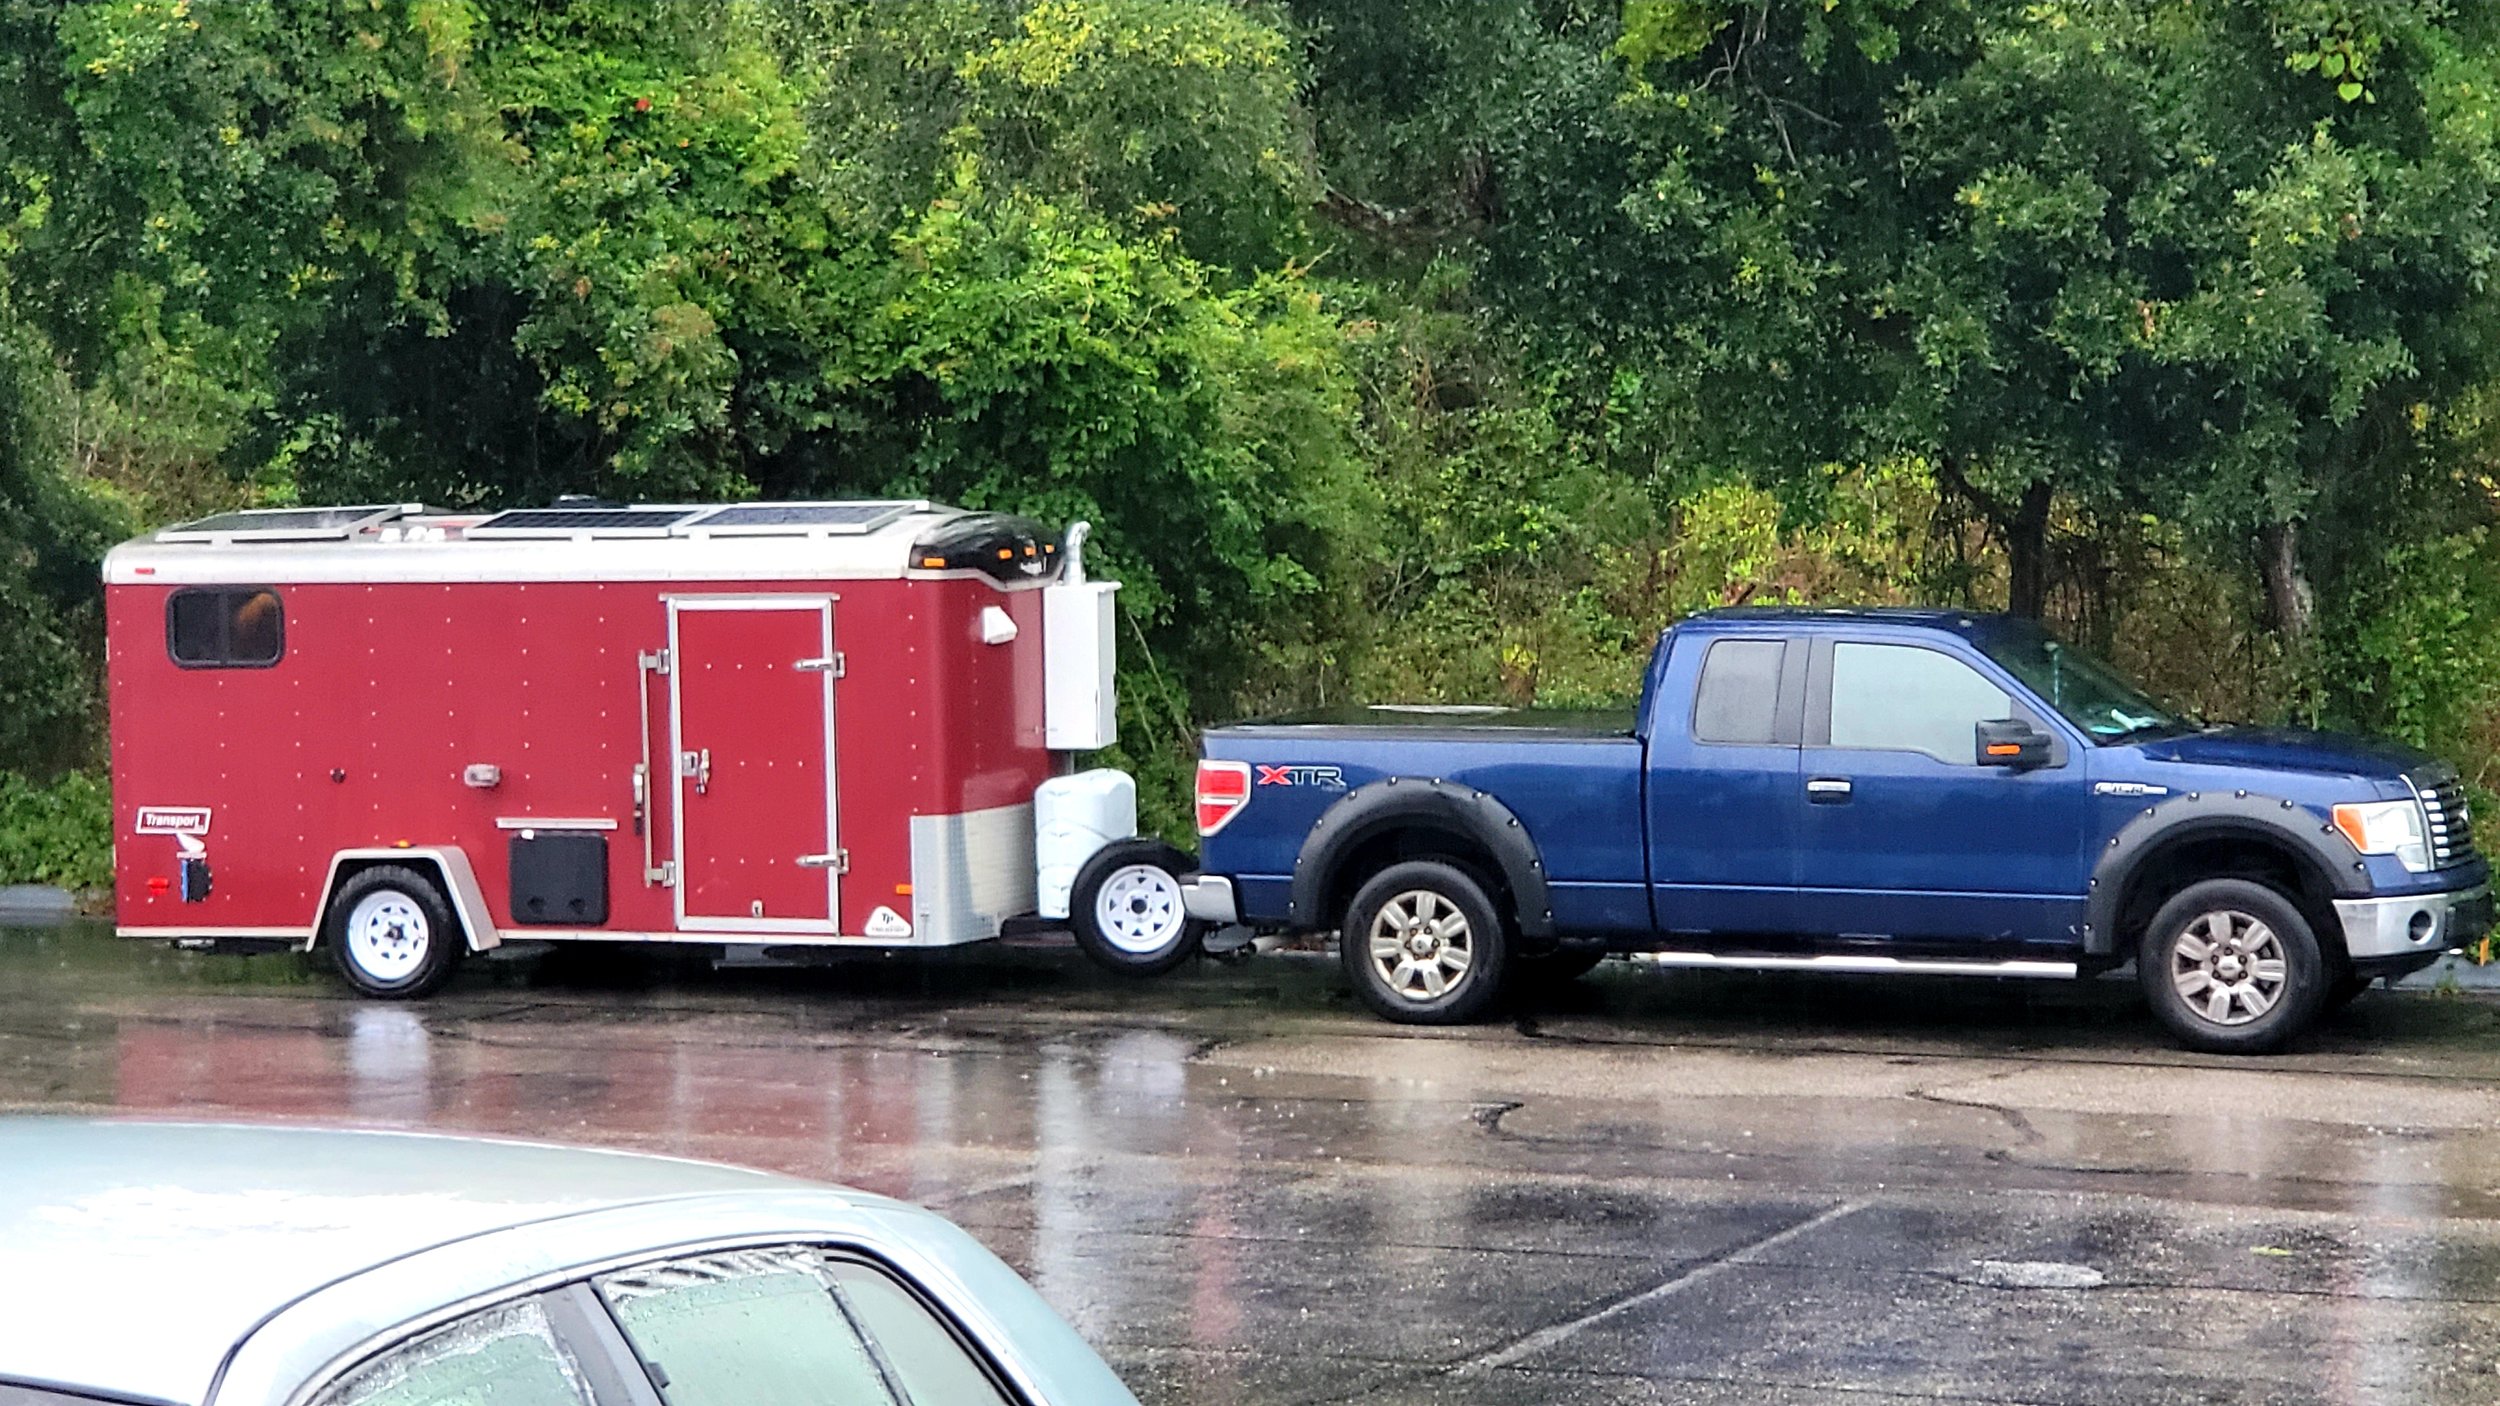
Our tiny home or “tiny gaf” as we say in Ireland was Christened 'Kels' after her occupants: Kylo (the dog), Eden & Lenny. Kels is a 2010 Haulmark motorcyle trailer that my girlfriend @edenbach and I decided to build out to travel the country in. It was and still is Eden’s dream to travel the world. A dream I aspire to be able to provide for her somehow. I bought the truck (named Betsy) after Covid first hit to help with my pursuit of becoming a carpenter but Betsy was also to be the vehicle that would carry or tow the camper that Eden & the dog & I would live in while we fulfilled Eden’s desire to hike her way across the country
The initial idea was to build a camper in the bed of the truck, One of those ones that sits in the truck bed and has a loft type bed above the truck cabin. The ones where you can extend the hydraulic legs and then drive away leaving the camper behind and then to reattach the camper to the truck you slide the camper back onto the truck bed by reversing into it. But since the truck had a habit of needing a part replaced every few months it was decided that it would be better to tow a camper to stay in, that way if the truck broke down for good we could replace the truck with another towing vehicle like a jeep or something.
We weighed up a lot of options in terms of what vehicle to get. We looked at a camper on Craigslist that had one of those pop up lids and slide out rooms. It was pretty expensive for how severely dilapidated it was. From this we learned how expensive RV’s and campers really were. The price of some converted vans out there is ridiculous. We also had to think of what features we wanted the camper to have. We knew we wanted to sleep in it, have air conditioning, cook food, have some sorta shower and toilet and importantly have a way to keep a dog comfortable when we were out hiking or having dinner/drinks. Basically to keep crate training the boyo. Eden also mentioned that a skylight would be cool to do some stargazin. So considering all these features it would be crazy expensive to buy an RV trailer with all of these features and I believed it would be much better value and have much more benefits in terms of value and skills gained if I built the camper myself.
Chapter 1. To Buy or To Build
We settled on cargo trailer as the base shell for the build due to its fersatility but they were expensive and had a waiting list if buying new and were never available for more than a day if second hand. We were lucky after some time to find this beautiful red motorcycle trailer online in Pennsylvania
You have to be ready to buy with these trailers. They sell fast. I tried to view one that was posted the one night and it was sold by 7am the following morning before I could look at it. In regards to the trailer I bought; the seller said I was the first seriously interested person who messaged them and by the time I arrived 3 hours later he had received something like 85 messages about it.
![20210313_163709[1].jpg](https://images.squarespace-cdn.com/content/v1/6120429c2d6ea67809ff9d87/1645220785985-74KLYP2FZW21K1HTH8NI/20210313_163709%5B1%5D.jpg)
![20210313_163720_(1)[1].jpg](https://images.squarespace-cdn.com/content/v1/6120429c2d6ea67809ff9d87/1645220828154-RB2U6DP2LIX3EQMLKCYG/20210313_163720_%281%29%5B1%5D.jpg)
![Screenshot_20210311-165000_Facebook[1].jpg](https://images.squarespace-cdn.com/content/v1/6120429c2d6ea67809ff9d87/1645220893959-ZK819YURA6YPYG5PCCID/Screenshot_20210311-165000_Facebook%5B1%5D.jpg)
![20210313_171455[2].jpg](https://images.squarespace-cdn.com/content/v1/6120429c2d6ea67809ff9d87/1645220923128-7A50LE64PV9MQ7WZ415F/20210313_171455%5B2%5D.jpg)
![20210313_171532[1].jpg](https://images.squarespace-cdn.com/content/v1/6120429c2d6ea67809ff9d87/1645221000474-C0J0JPZ7PAIVR21GXHOU/20210313_171532%5B1%5D.jpg)
![Screenshot_20210311-165009_Facebook[1].jpg](https://images.squarespace-cdn.com/content/v1/6120429c2d6ea67809ff9d87/1645221062348-I453IU5BQK4WCGTKE530/Screenshot_20210311-165009_Facebook%5B1%5D.jpg)
Chapter 2. Refurbishment
Where to begin…….
So we got the trailer. A lovely red toy hauler with a drawbridge style rear door. The previous owner used it to go on motorcycle and dirt bike camping trips with his kids who have since moved out. Not a bad upbringing eh? My brain was going crazy with ideas and I was excited to get to work. So where to begin...
First things first. Time to strip this thing down to its skeleton and refurbish all the interior metal struts. I wasnt going to touch the red exterior aluminum panels but i was going to remove the interior wooden clad walls and the dirty floor so I could expose and get to the metal frame. Then i would scrape off all the rust. Blow the dust away, wipe down the metal and apply spray paint designed for metal applications. This was the first task necessary to start the build and of course I thought it would be easier than it was...
Right then,
Because this trailer was designed to carry off road vehicles it had these large iron rings fixed to the floor and bolted to the frame. Cutting these out was a trek. Needed to get the Sawzall out for this one with a blade specific for cutting thick metal. Here I used the Milwalkee Hackzall and it worked well. Once that was out I could remove all the screws and take the floor out for good. I numbered the old floor panels 1 to 5 so I could remember their order and laid them aside.
I then removed the wooden paneling on the interior walls Remembering to keep and label all the screws and wood that was removed. Kels was stripped as bare as she was gonna get. Click on the images below to see the process.

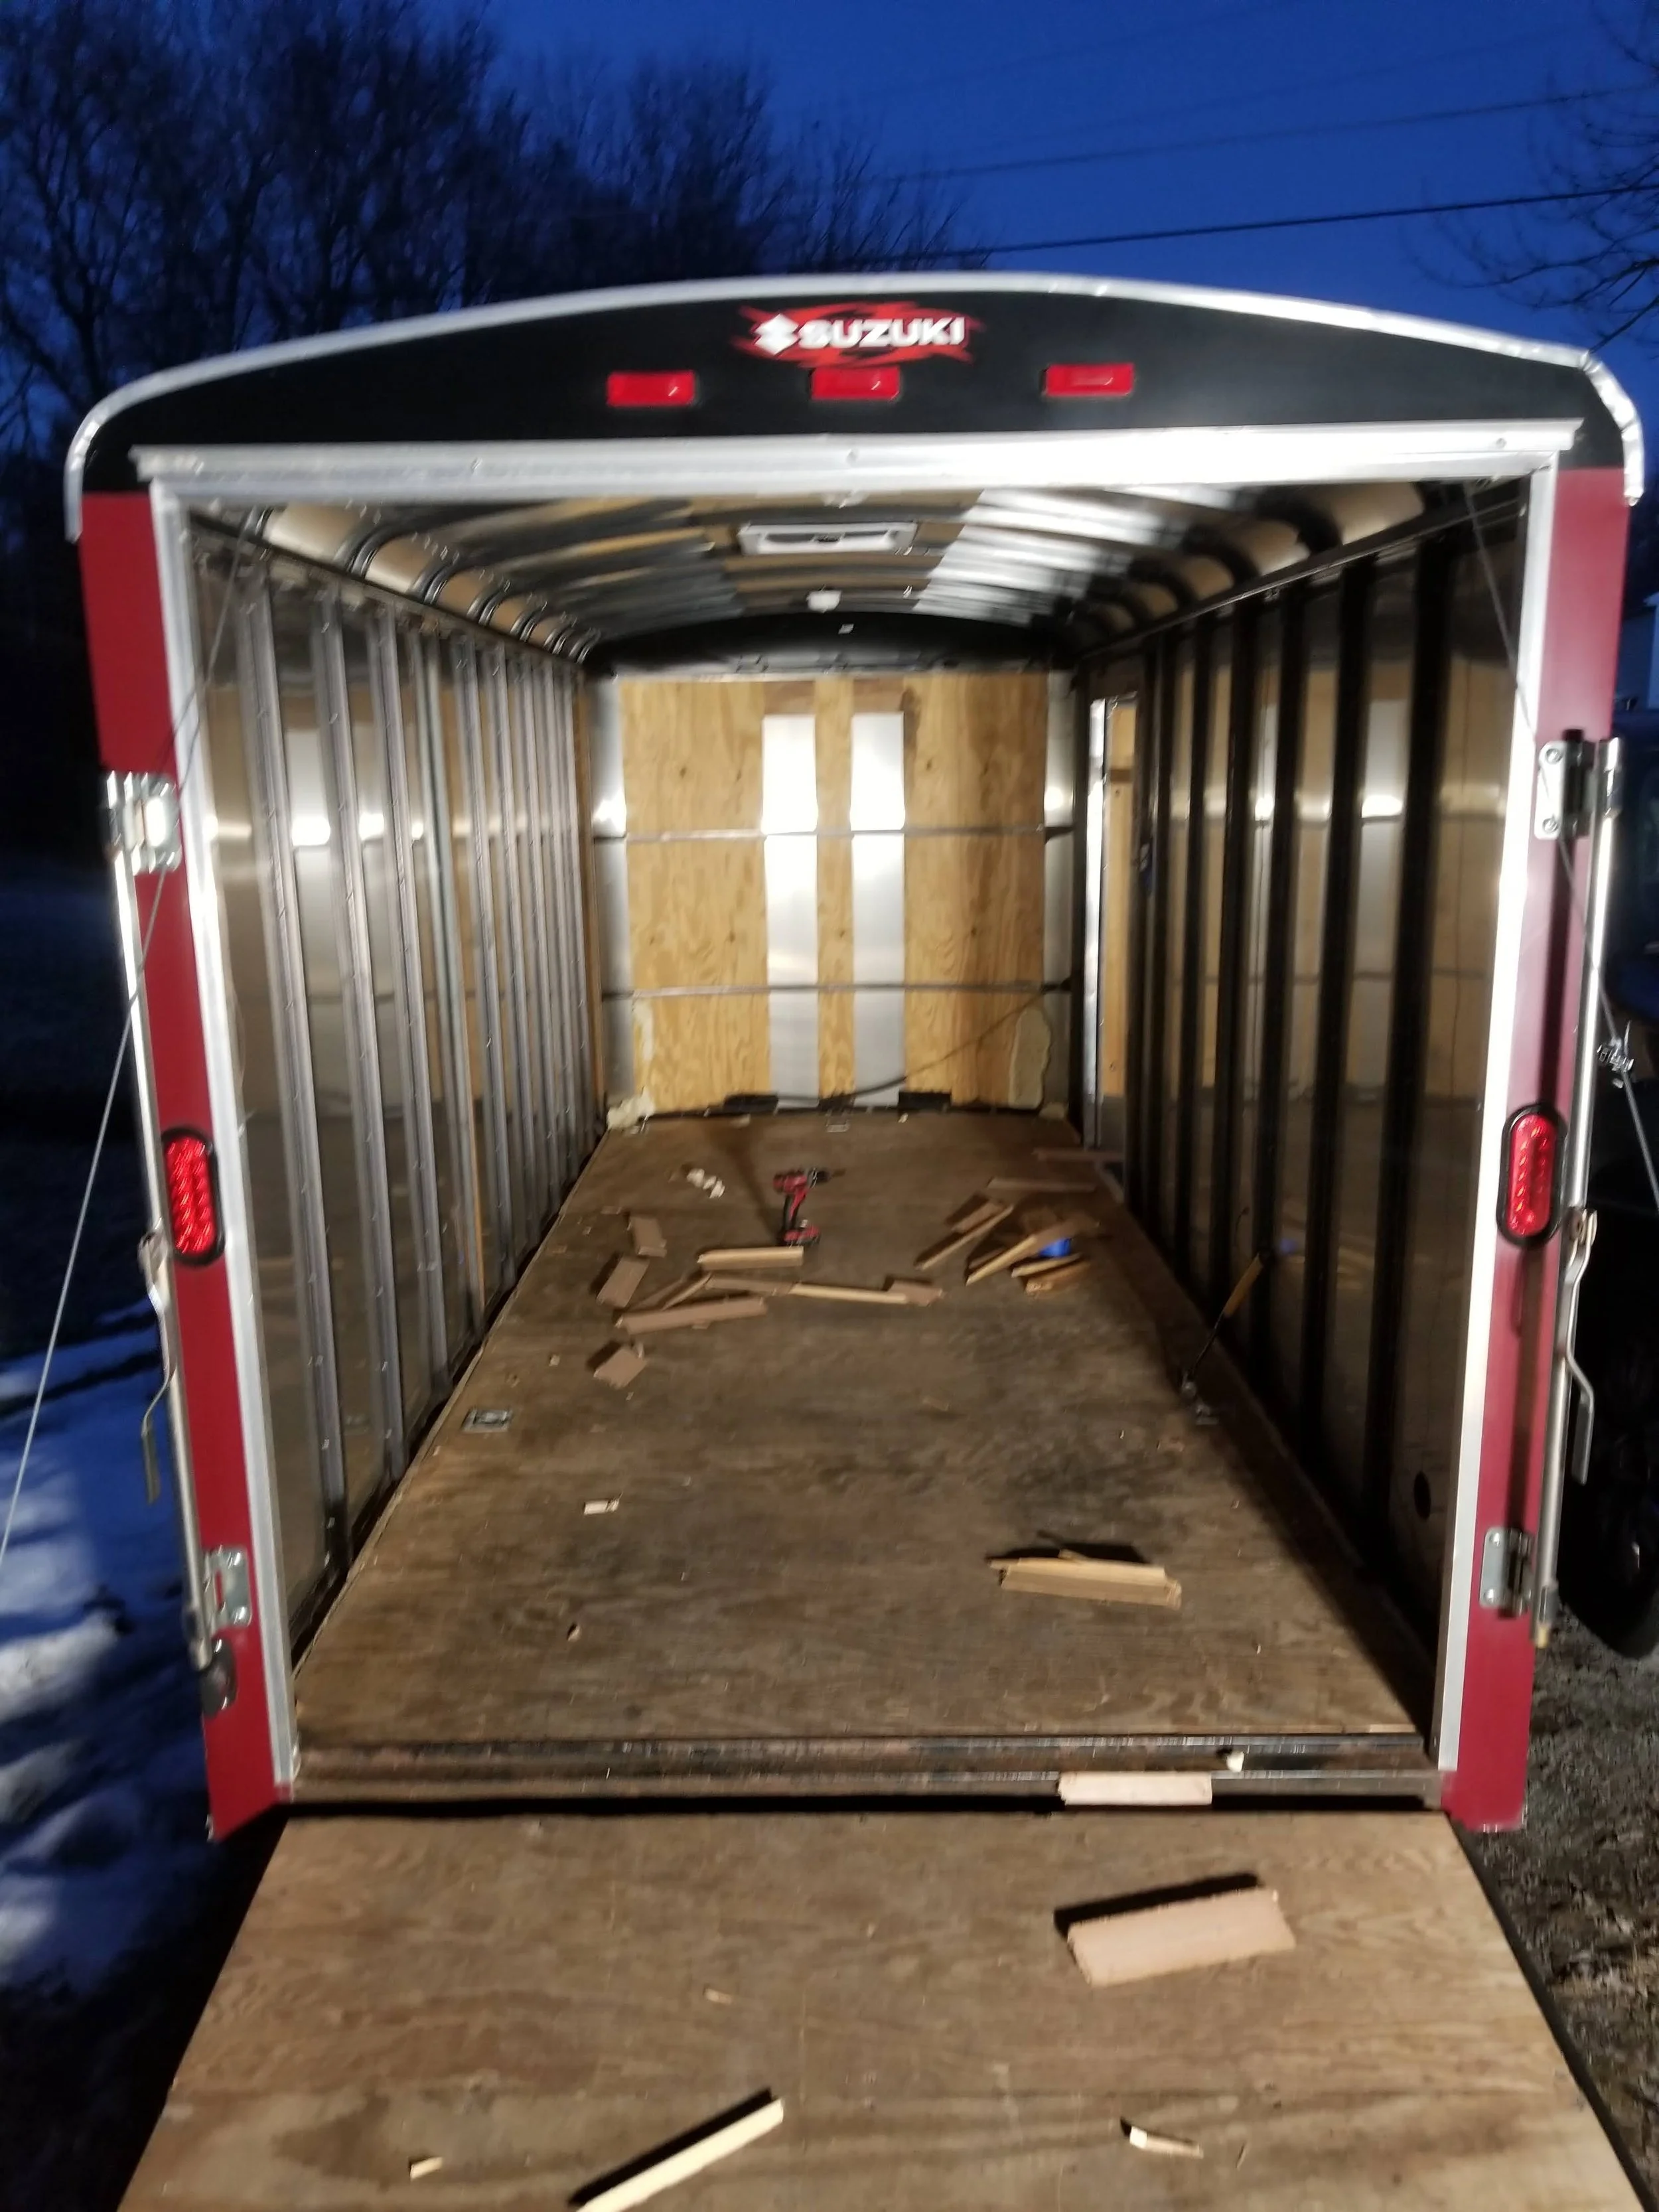
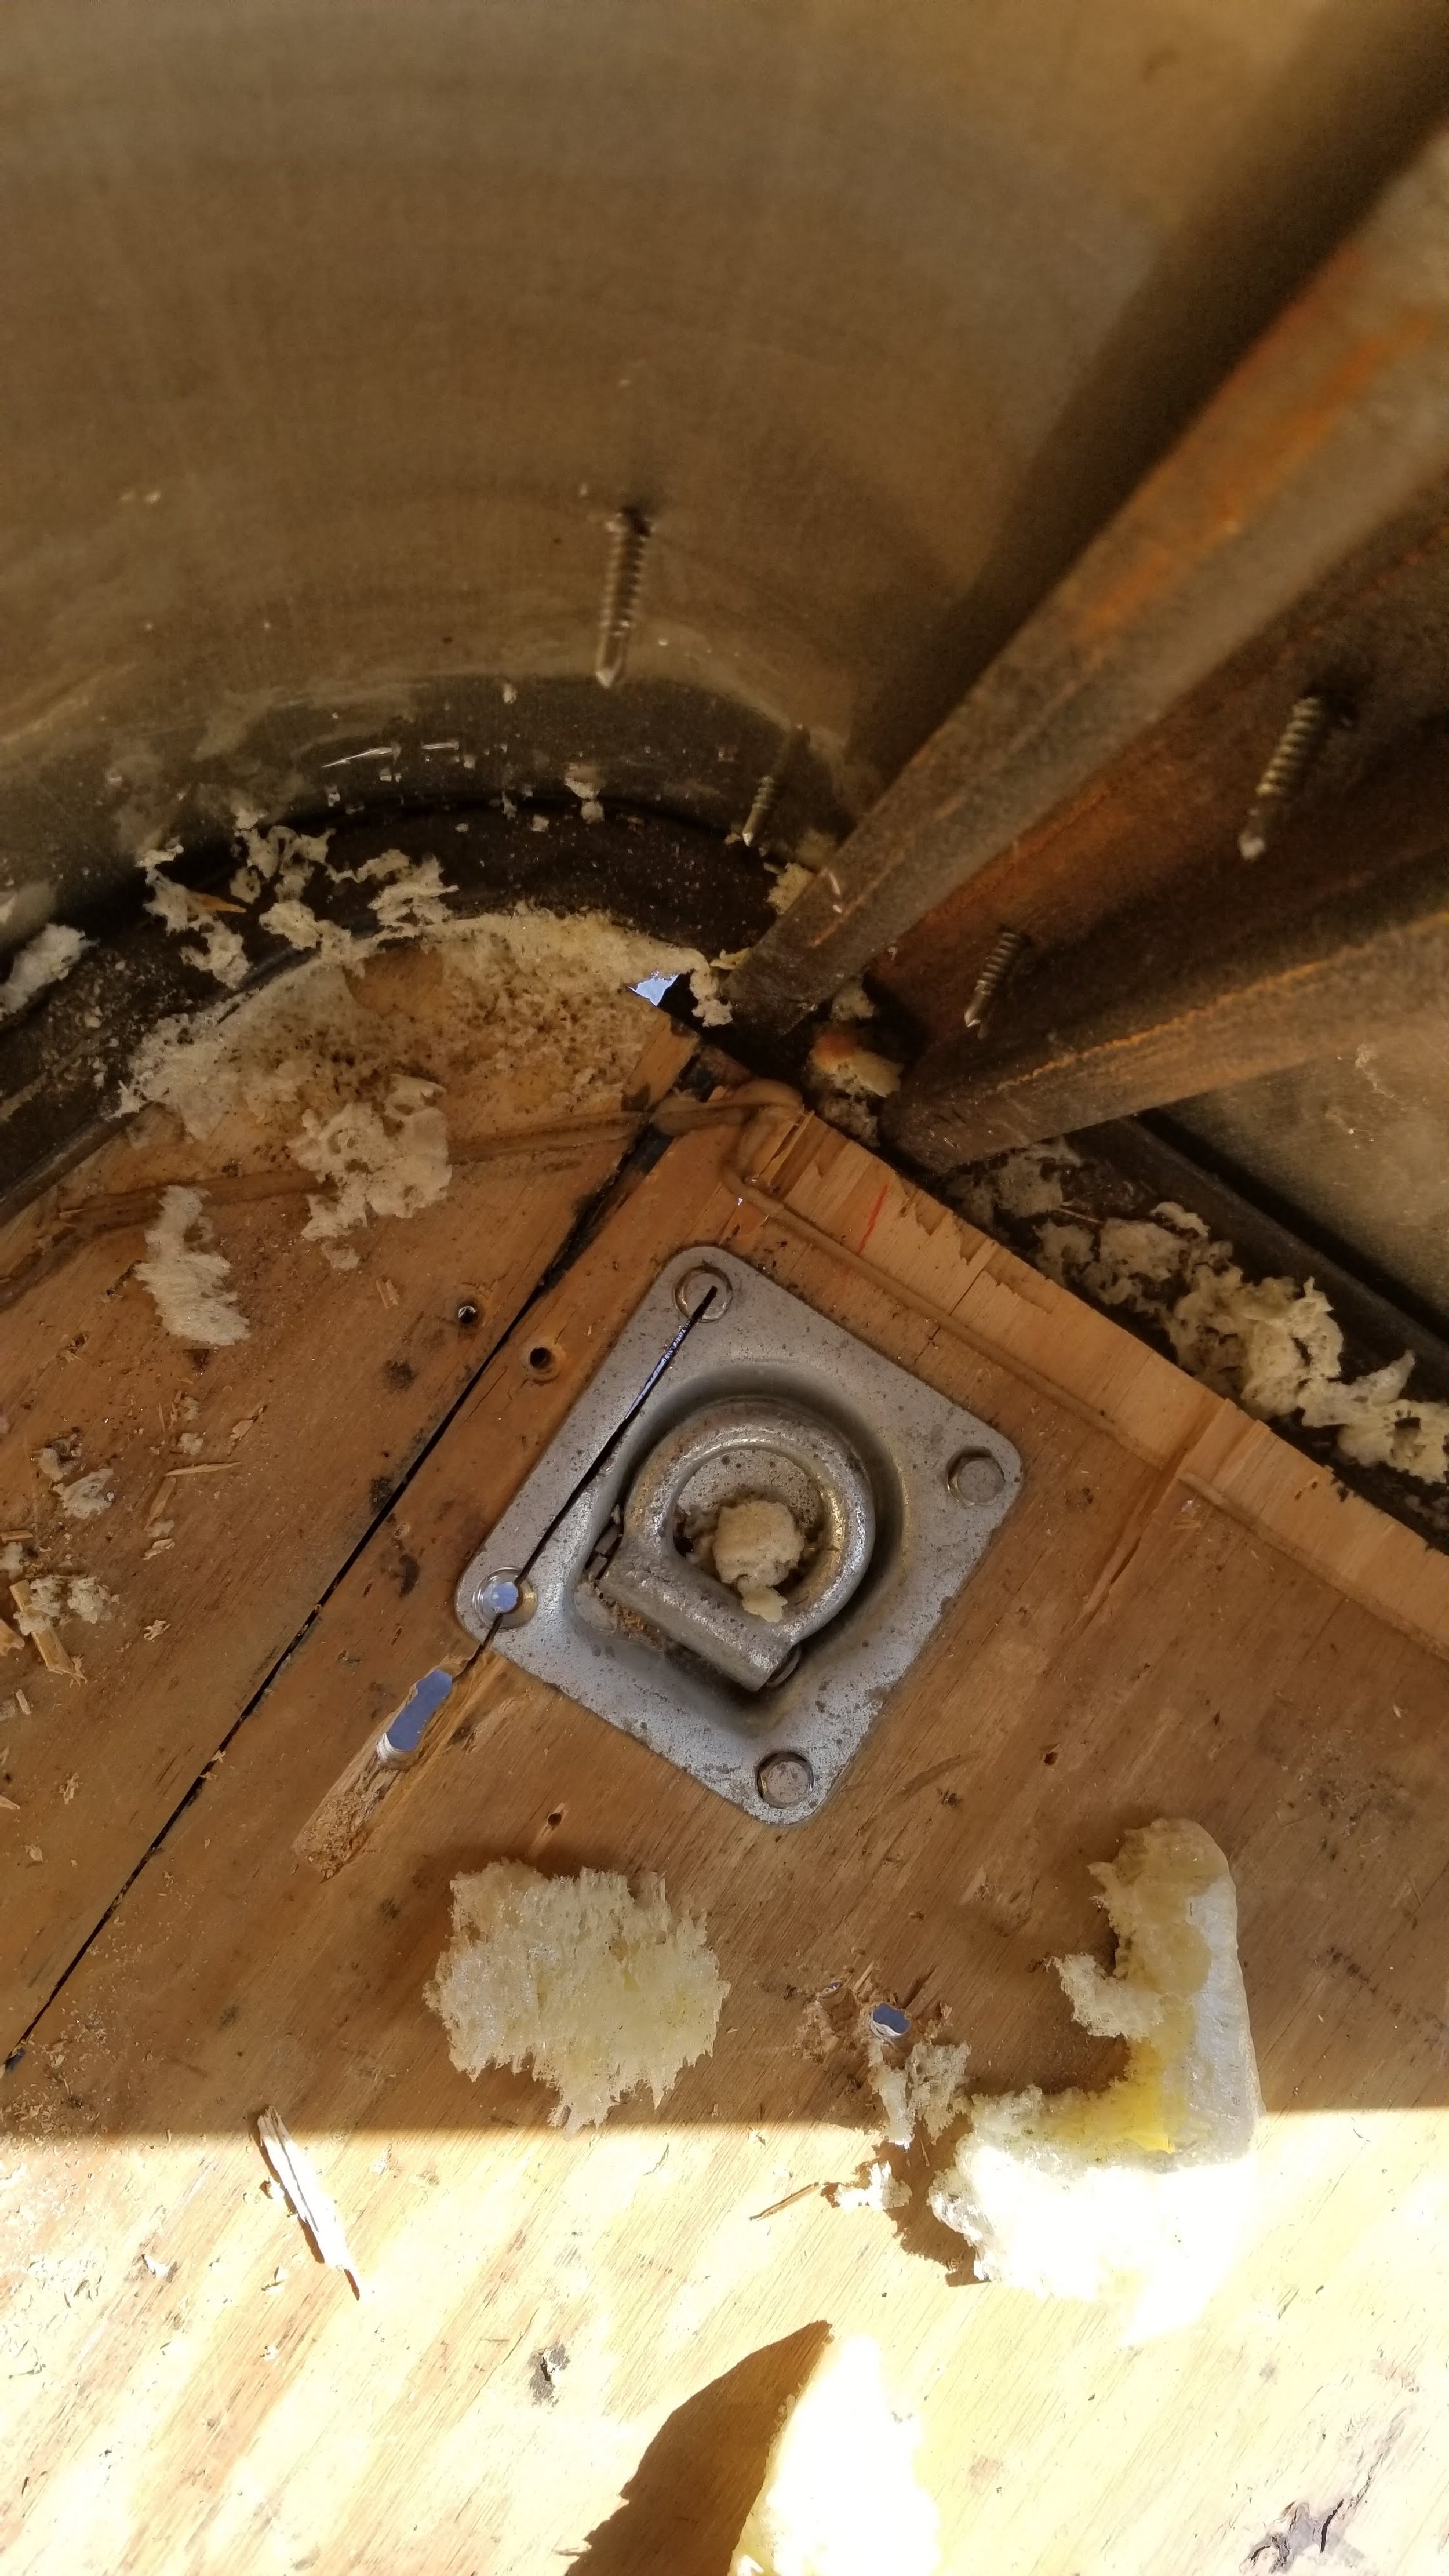


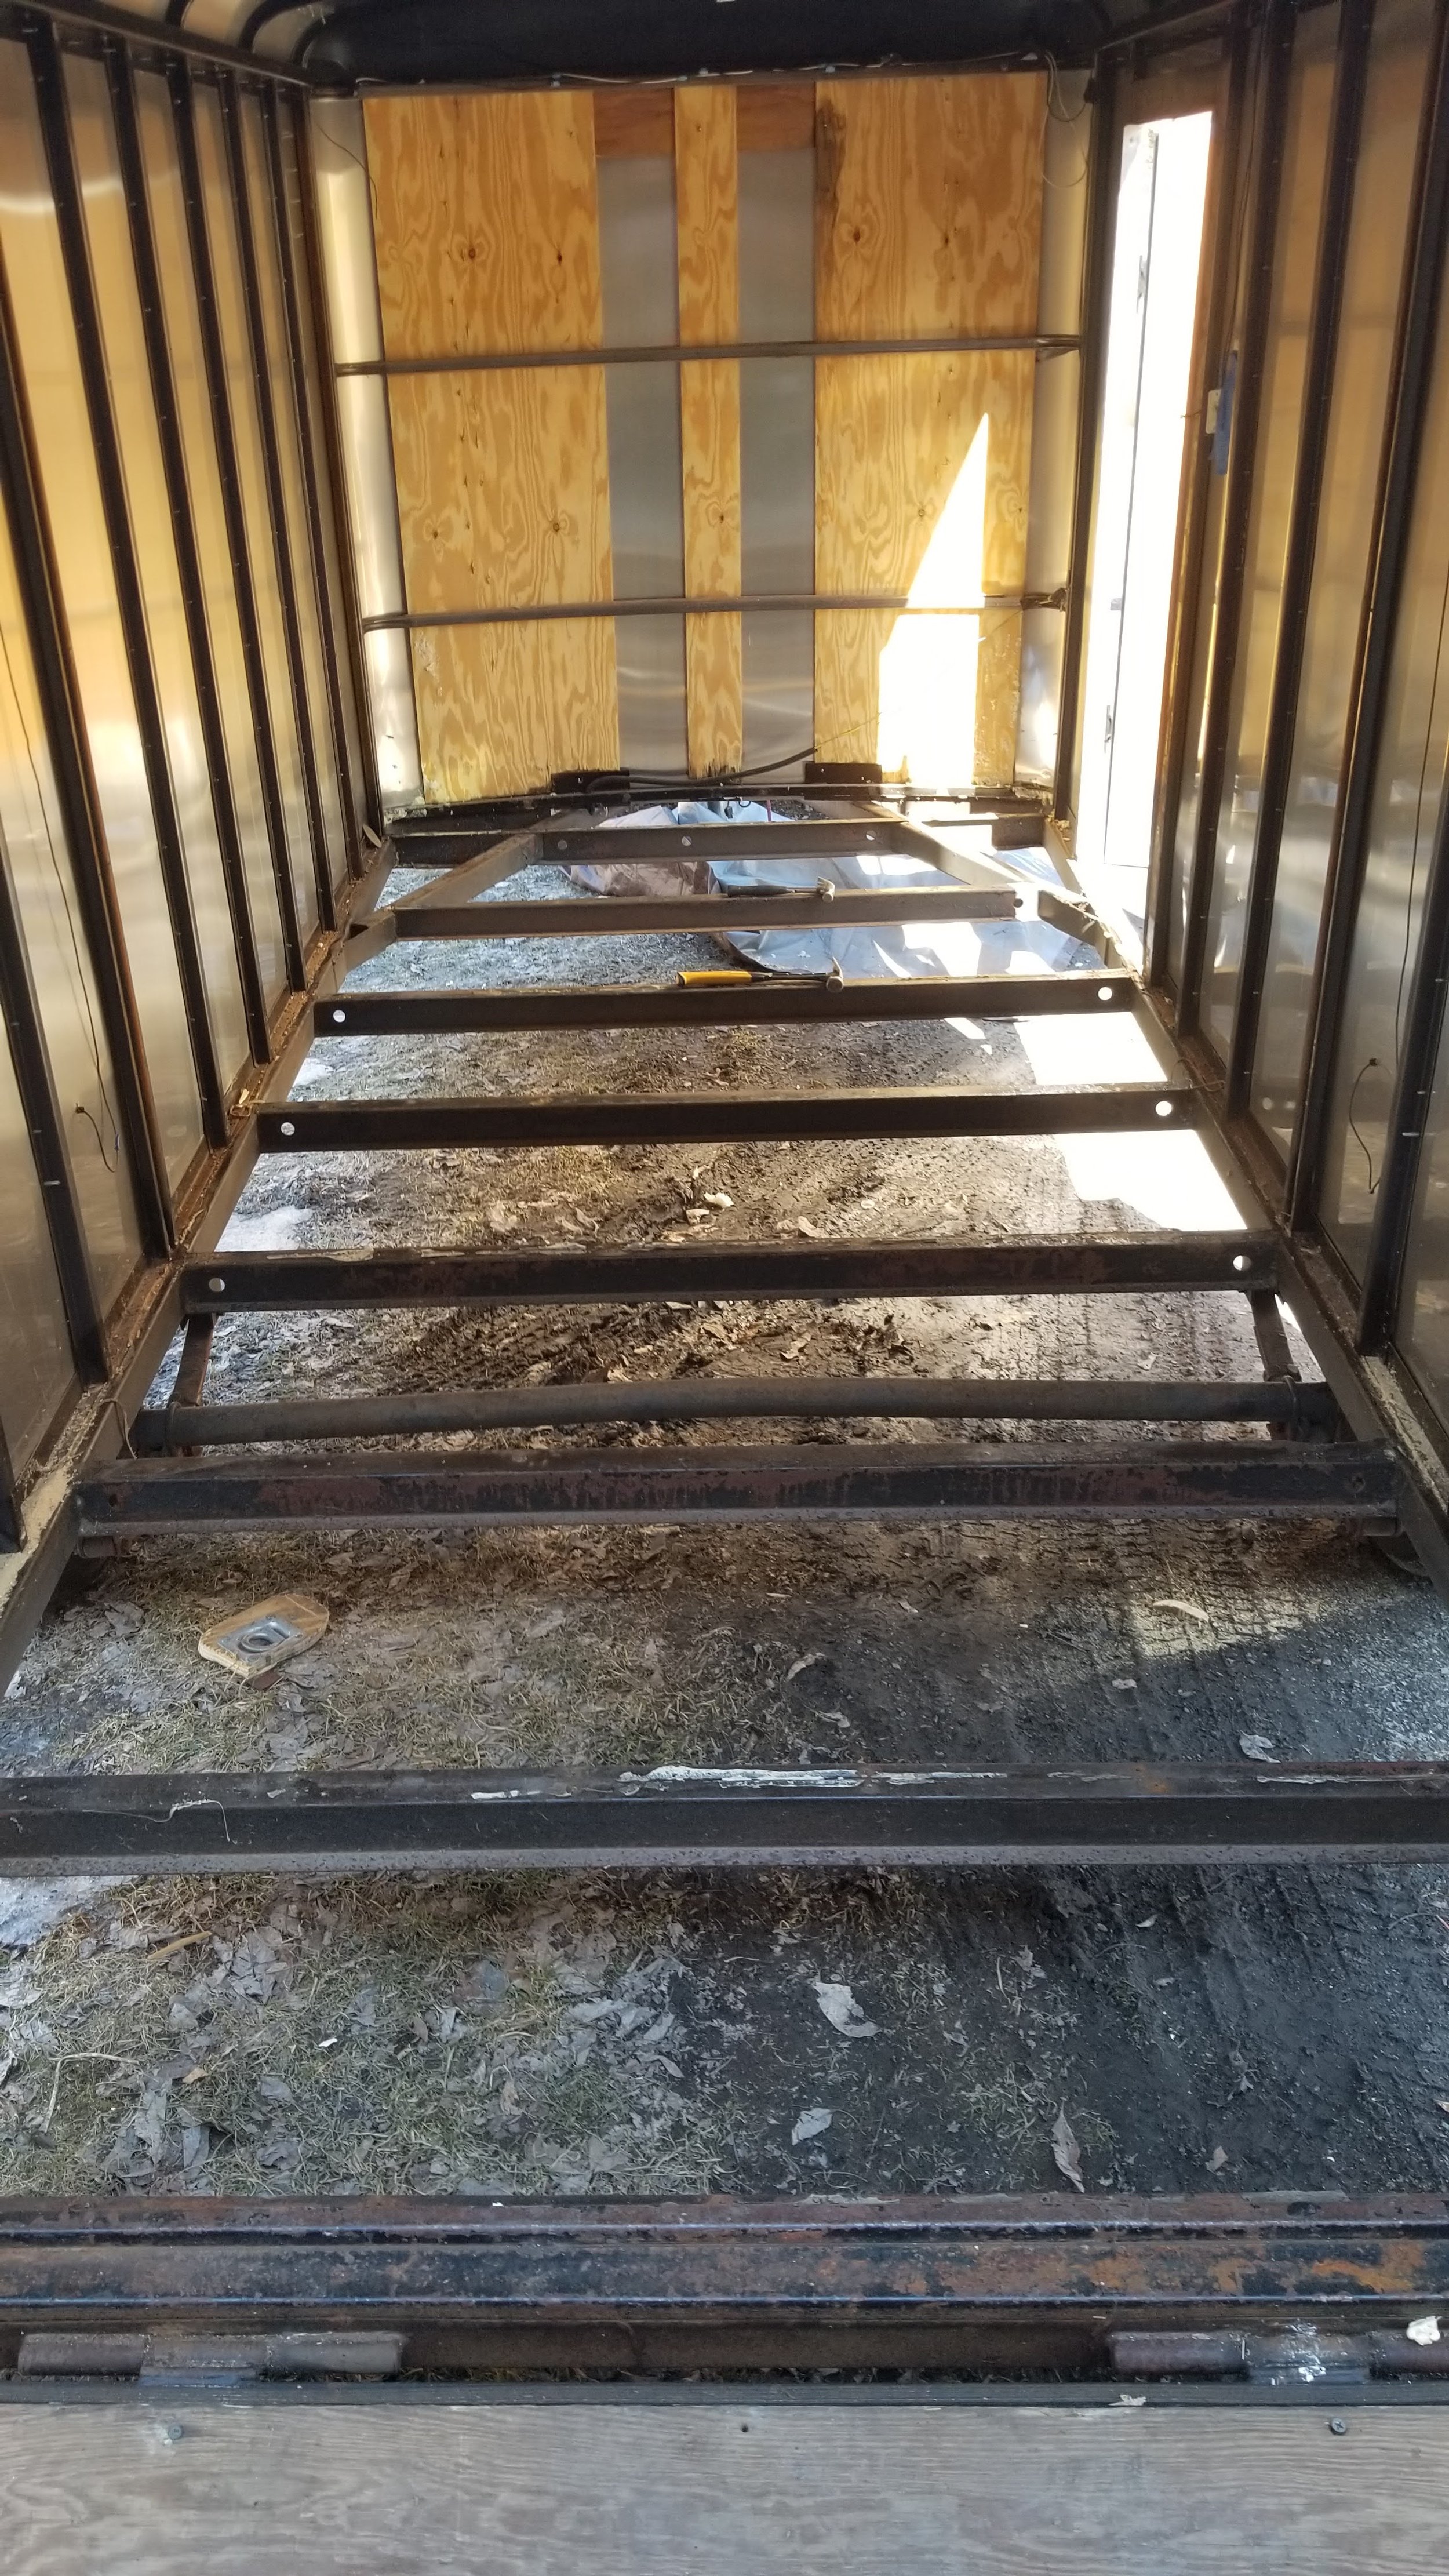
Once the old interior wood was stripped it was time to refurbish the metal framework of the trailer. The trailer frame looked fine at a glance but when you got up close you would notice just how rusted the metal is. The lad i bought the trailer off stored it in a “carport” which is basically a parking space with a roof but only 2 walls. So while the trailer was covered from the rain it still was somewhat exposed to the elements. and I picked it up in Pennsylvania which gets mad winters.
So anyway… I used a wire wheel with a drill bit attachment to clean the metal and scrape off as much rust and chipped paint as I could. I did this on all faces of the metal framework. Going over every inch was a bitch alright but seems well worth it once i saw the results.
I used an air compressor to blow the loose dust off the struts which filled the trailer air with delicious rust dust and probably took a year off my life 😳. So I opened the door more, masked up and tried again. Then I wiped down the metal bars with a damp rag and it was ready for paint.
I sprayed every inch of the metal struts first with a primer can. I had 2 types that i used until i ran out. I used Rust Oleum Rusty Metal Primer and Rust Oleum Rust Reformer when i ran out of the primer, both products worked the same. once the primer dried i then applied a glossy black protective enamel paint by Rust Olem and its done a great job. Spray painting the frame was the fun part. I added it very liberally to every inch of the struts. Going “outside the lines didn’t matter as the interior walls would be covered up with paneling eventually. I could have done with more but i think i went thru like 4 or 6 cans each of both primer and paint. It would add years to Kels' life and give her added protection from the elements. With the trailer tongue pics you can really see the difference.
![InCollage_20220309_175454566[1].jpg](https://images.squarespace-cdn.com/content/v1/6120429c2d6ea67809ff9d87/1646883176744-GE6R1MJXPJFQIXCTUV68/InCollage_20220309_175454566%5B1%5D.jpg)
![InCollage_20220309_174039813[1].jpg](https://images.squarespace-cdn.com/content/v1/6120429c2d6ea67809ff9d87/1646883206501-F7RUL5A4E6L829QD5D8N/InCollage_20220309_174039813%5B1%5D.jpg)
![InCollage_20220309_173820724[1].jpg](https://images.squarespace-cdn.com/content/v1/6120429c2d6ea67809ff9d87/1646883224550-VLARCIMO3AZD71C11H61/InCollage_20220309_173820724%5B1%5D.jpg)
![20210323_101742[1].jpg](https://images.squarespace-cdn.com/content/v1/6120429c2d6ea67809ff9d87/1646883522505-FNKO3Q7C6X83B65CZL1W/20210323_101742%5B1%5D.jpg)
![20210323_101754[1].jpg](https://images.squarespace-cdn.com/content/v1/6120429c2d6ea67809ff9d87/1646883583755-5XZDFC783O5KQCPSER01/20210323_101754%5B1%5D.jpg)
![InCollage_20220309_173857317[1].jpg](https://images.squarespace-cdn.com/content/v1/6120429c2d6ea67809ff9d87/1646883487465-DLXFKPFMAQFPWN8G5VYW/InCollage_20220309_173857317%5B1%5D.jpg)
I was really happy with the trailer tongue. Probably because it is the only refurbished piece of the frame that you can see. But it turned out really well.
The time came that I finally had a reason to buy a table saw, after some research I bought a (portable Dewalt table saw) which has a cool leg system that let's me use it at a worktable height and collapse the legs which allow me to wheel around the table saw like a piece of luggage.
First I cut new floors out of 3/4" A-C Plywood. A-C plywood is was sanded with an "A" finish on one side and a rough "C" finish on the other. I used the old floor and copied each piece exactly and installed the new floor using the same screws in the same screw holes as the old floor. The new floors felt nice. Next was to install insulation. After weighing all the options I went with the highly recommended 1" thick pink styrofoam insulation (insert product here-pink stuff). I went with this product because of its high R value and its easy to work with.
Chapter 3: Getting on with it
Using the table saw to cut the insulation was a breeze and made me very satisfied with my purchase. I wasn't sure how much I would use the table saw throughout the whole build but cutting the insulation almost made the purchase worth it. I cut strips of insulation and positioned them in every inch of the interior. Insulation covered the interior walls, the ceiling, the rear hatch and was installed underneath the floor boards too. I fixed them to the struts using (insert product here) 3M? multiuse aluminum tape.
The old wall panels were to be eventually put back in their original place using the original screws. These wall panels were 1/8" thick plywood and the wood was clean and would be covered up by the final finish eventually.
While attempting to cover every inch of the trailer with insuilation I experimented with some foam insulation in a can. I attempted to use this to get all the hard to reach areas underneath the trailer, mostly at the tongue of the trailer. trying to add this to the underneath of the trailer in the end was very stupid as i ended up getting some of the product in my hair and this stuff doesnt come out. had to be cut out after a few days. live and learn. Foam insulation is shite and i hope i never have to use it again.
The trailer needed stabilizing jacks. these would be mounted under the frame at each corner and would allow us to level the trailer if parked on a uneven surface. This would prove to be essential both in leveling out the trailer during overnight stays and for maintenance purposes. changing a tire and getting access to the grey water tank was a breeze with these stabilizers. they are controlled by a drill with a 1" socket attachment or with a hand wrench*** wrong word. This of course meant bringing a Milwaukee drill with us on the trip and a accompanying battery and charger. If you cant tell Milwaukee is my favorite mid level power tool brand. if i could afford it i would buy Festool everything but what can ya do?
The stabilizers were installs using the lag nuts provided. These are great and affordable. highly recommend. I only wish i had a little more space underneath the trailer frame to fit a set of pop out steps but the stabilizer prevented this. I have a little timelapse video of me putting them on.
Chapter 4: Design Decisions
So the interior skeleton is complete. I have a base. I have a big red waterproof container with a refurbished frame and insulation in it. Now it was time to finalize the design and layout of the trailer. I had been pretty interested in van builds in the 2 years leading up to deciding to build my own travel trailer, and I watched a ton of van builds and tutorials on youtube. But now that I was actually building my own it was time to finalize my design. It was time to decide what was best for the trailer that I had. What I could fit in the size of the trailer that I had. What features it would have. What luxuries and what limitations. This would lead to many debates about what was needed vs what was wanted and what we could afford. I initially wanted to build a trailer that could be sold after we were done traveling in it. Something that was high end and had a professional finish. I wanted it to look like a professional van conversion, not like a cheap diy job. I wanted a legitimate plumbing system. An electrical system to power an air conditioner. I wanted a tv and a shower and a toilet with a door for privacy. I wanted it all. I didnt wanna go the cheap route of a van conversion that maybe had a fold out futon and a water tank on a shelf for a kitchen tap. and maybe 1 solar panel to charge our phones. That would have been much more responsible of me. We might have had enough money to finish our USA trip and get back to NY but me being a crazy designer; I wanted to make it as nice as possible and thankfully my amazing girlfriend had faith in me and believed in me when I convinced her that making it a professional style build would be worth it in the end.
My girlfriend did have a few preferences. She requested that the trailer have a skylight, air conditioning and contain a dog house. It was important that our dog be comfortable in his house while we were out hiking and exploring or out for the night etc. I wanted to have a permanent bed, not a fold away bed or a table that turns into a bed. And I wanted as big a bed as possible because I have a hard time sleeping well and I did not want to spend the summer cramped. I also wanted a shower and an outdoor shower or hose to wash the dog. I wanted a toilet and a fridge and a stove too. So there was a lot to cram in and it required a lot of research of different types of products. During the project I spent hours and hours researching different products online, reading the reviews, watching install videos and measuring the trailer to see if the proposed product would fit. I used painters tape to draw a map on the floor of the trailer to figure out where everything would go. I ordered a ton of products and they all started to arrive. There were soooo many amazon boxes every day more stuff came.
Chapter 5: Bathroom Design
I started with the bathroom. There was going to be a bathroom with a toilet, an extractor fan and a sliding door for privacy. There would be a ceiling light with a dimmer switch on the wall and a full length mirror. There would be a shower (with hot water of course) with a window and a retractable door. Beside the shower there would be a narrow but full length closet for items that needed hanging like a suit or a dress. All of this crammed into about 10 sq ft.
When it came to the toilet itself I decided on a porta-potty, which is basically a bucket shaped like a toilet. You would add a bag or bin liner and do your business and then throw away the bag. I didn’t want a more complex toilet because of the cleaning issue. Many professional RV’s have a toilet that flushes just like the one in your home. But that uses a lot of water and the waste goes into what is called a black water tank. There are 3 types of water tanks in an RV/tiny home. A freshwater tank, A gray water tank and a black water tank. A gray water tank is the waste water collection tank for kitchen sink water and shower water. The black water tank holds the human waste from the toilet. A lot of people who do van conversions opt for a composting toilet. Which holds the waste in a compartment inside the toilet that uses some composting chemicals or sawdust product to break down the waste or something like that. They sometimes also need electricity to run. I can’t exactly remember how it works but the point is that you still have to clean it out every once in a while. I really didn’t wanna have to clean out any black waste so I opted for the bag lined porta potty toilet. It was about 60 bucks on amazon. I did however add spare electrical wiring in the walls in case a future owner wanted to install a composting toilet and needed DC power to run it. I also added a power outlet in the bathroom wall at about knee level so we could have an option to have power in the bathroom. We ended up using this outlet primarily for a wall plug air freshener but it would be useful if you wanted to use a hair dryer or straightener or something like that.
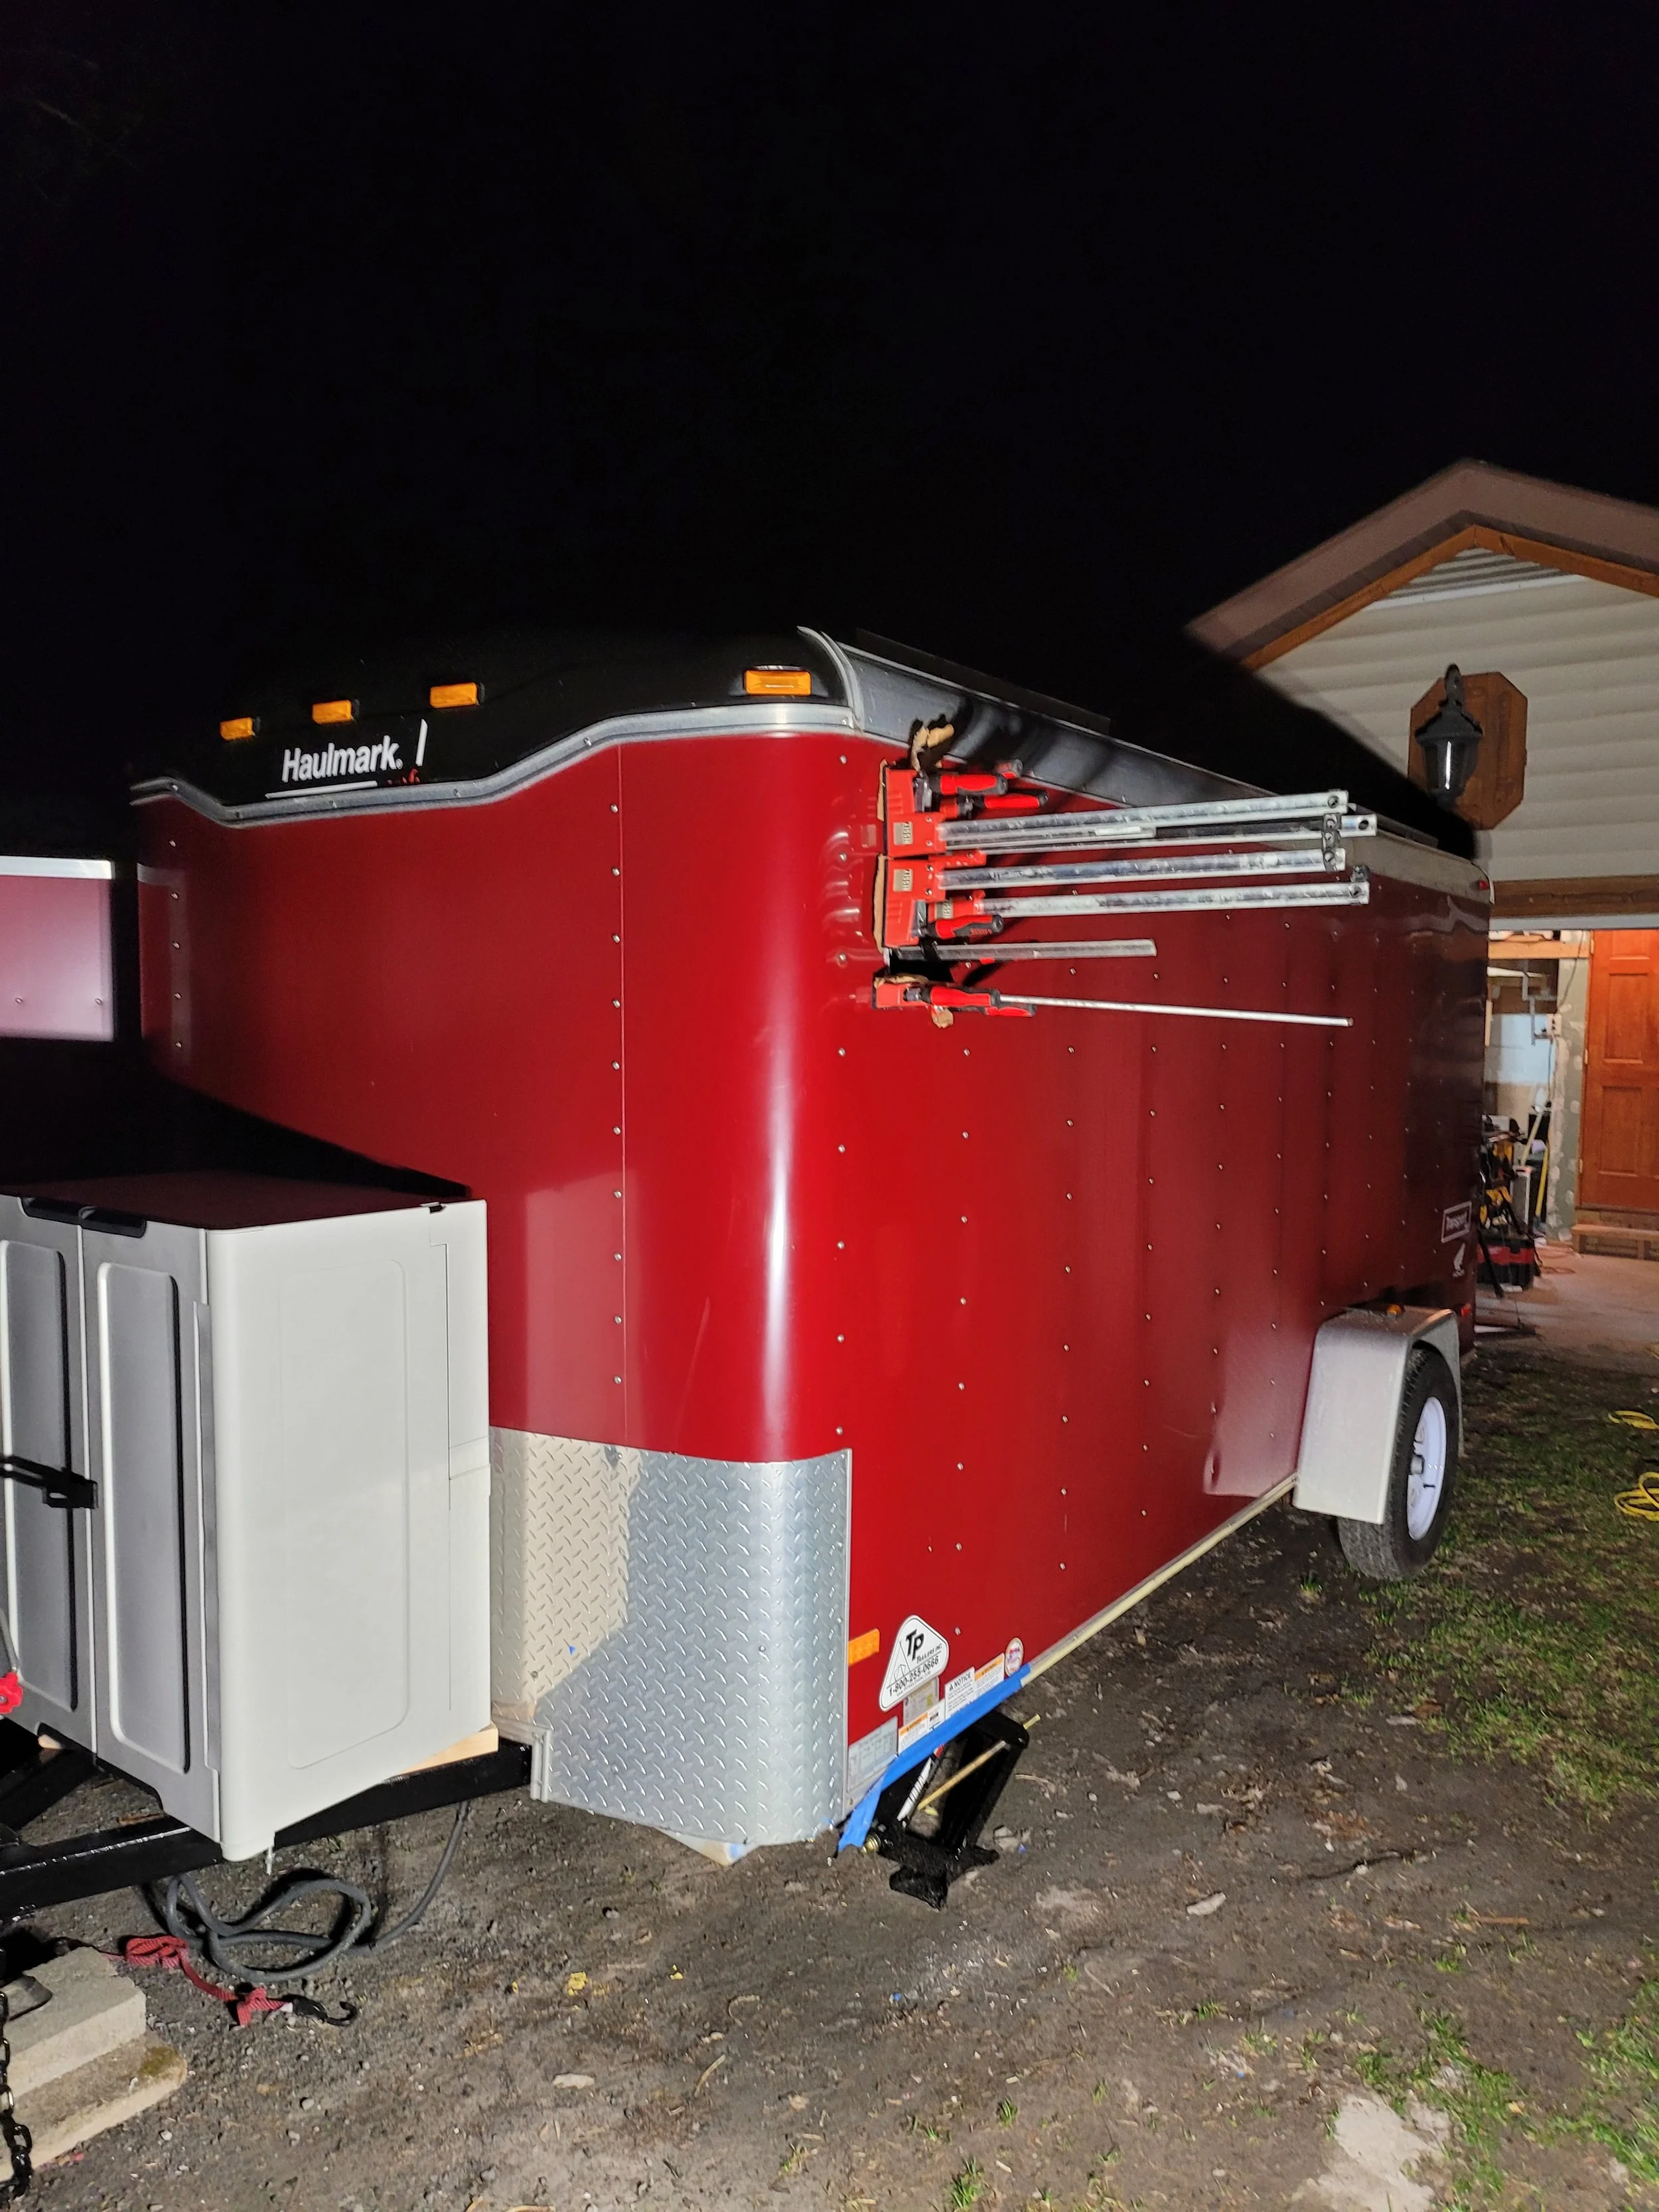
The bathroom build began with sizing everything out and then cutting holes for the shower window and the extractor fan.The window came with a template to draw on the wall and then I cut it out with the sawzall. I reinforced the opening with a wooden frame made of 2x4s and glued it to the trailer frame and exterior paneling using a construction adhesive and many woodwork clamps. I would have to install the shower walls before installing the window itself but will discuss that further down. I used flashing tape around the opening before i installed the window panels. The window was a marine boat window and it had an outside and inside piece that slotted together. I added construction sealant and butyl tape on each side before installing the window with the provided screws and a little elbow grease.The seams were then chalked on the inside and outside. The first chaulk I tried cracked so I started using BigStretchCaulk which was recommended by a friend and works great.
Using a porta potty like this seemed the least traumatizing of the toilet options so I went with it. As time went on and we got better at living in the thing it became evident that it was necessary to have a small trash can to go along with the toilet. When you needed to use the toilet and there were no public trash cans around your trailer or it was the middle of the night and you didnt wanna go for a walk to dispose of your waste bag. Then we would leave a small trash can right outside the front door and put our toilet bags in. In the morning you empty this into a big trash can in your campsite or parking lot or wherever you have set camp for the night.
In all the research I have done on van lifers with different toilet types this one still seems like the best option for anyone traveling in a camper of moderate size. Even with a half a million dollar RV you gotta clean out your wife and kids black waste. Me; I just go in a bag a throw it out the window (into a trash can ;)

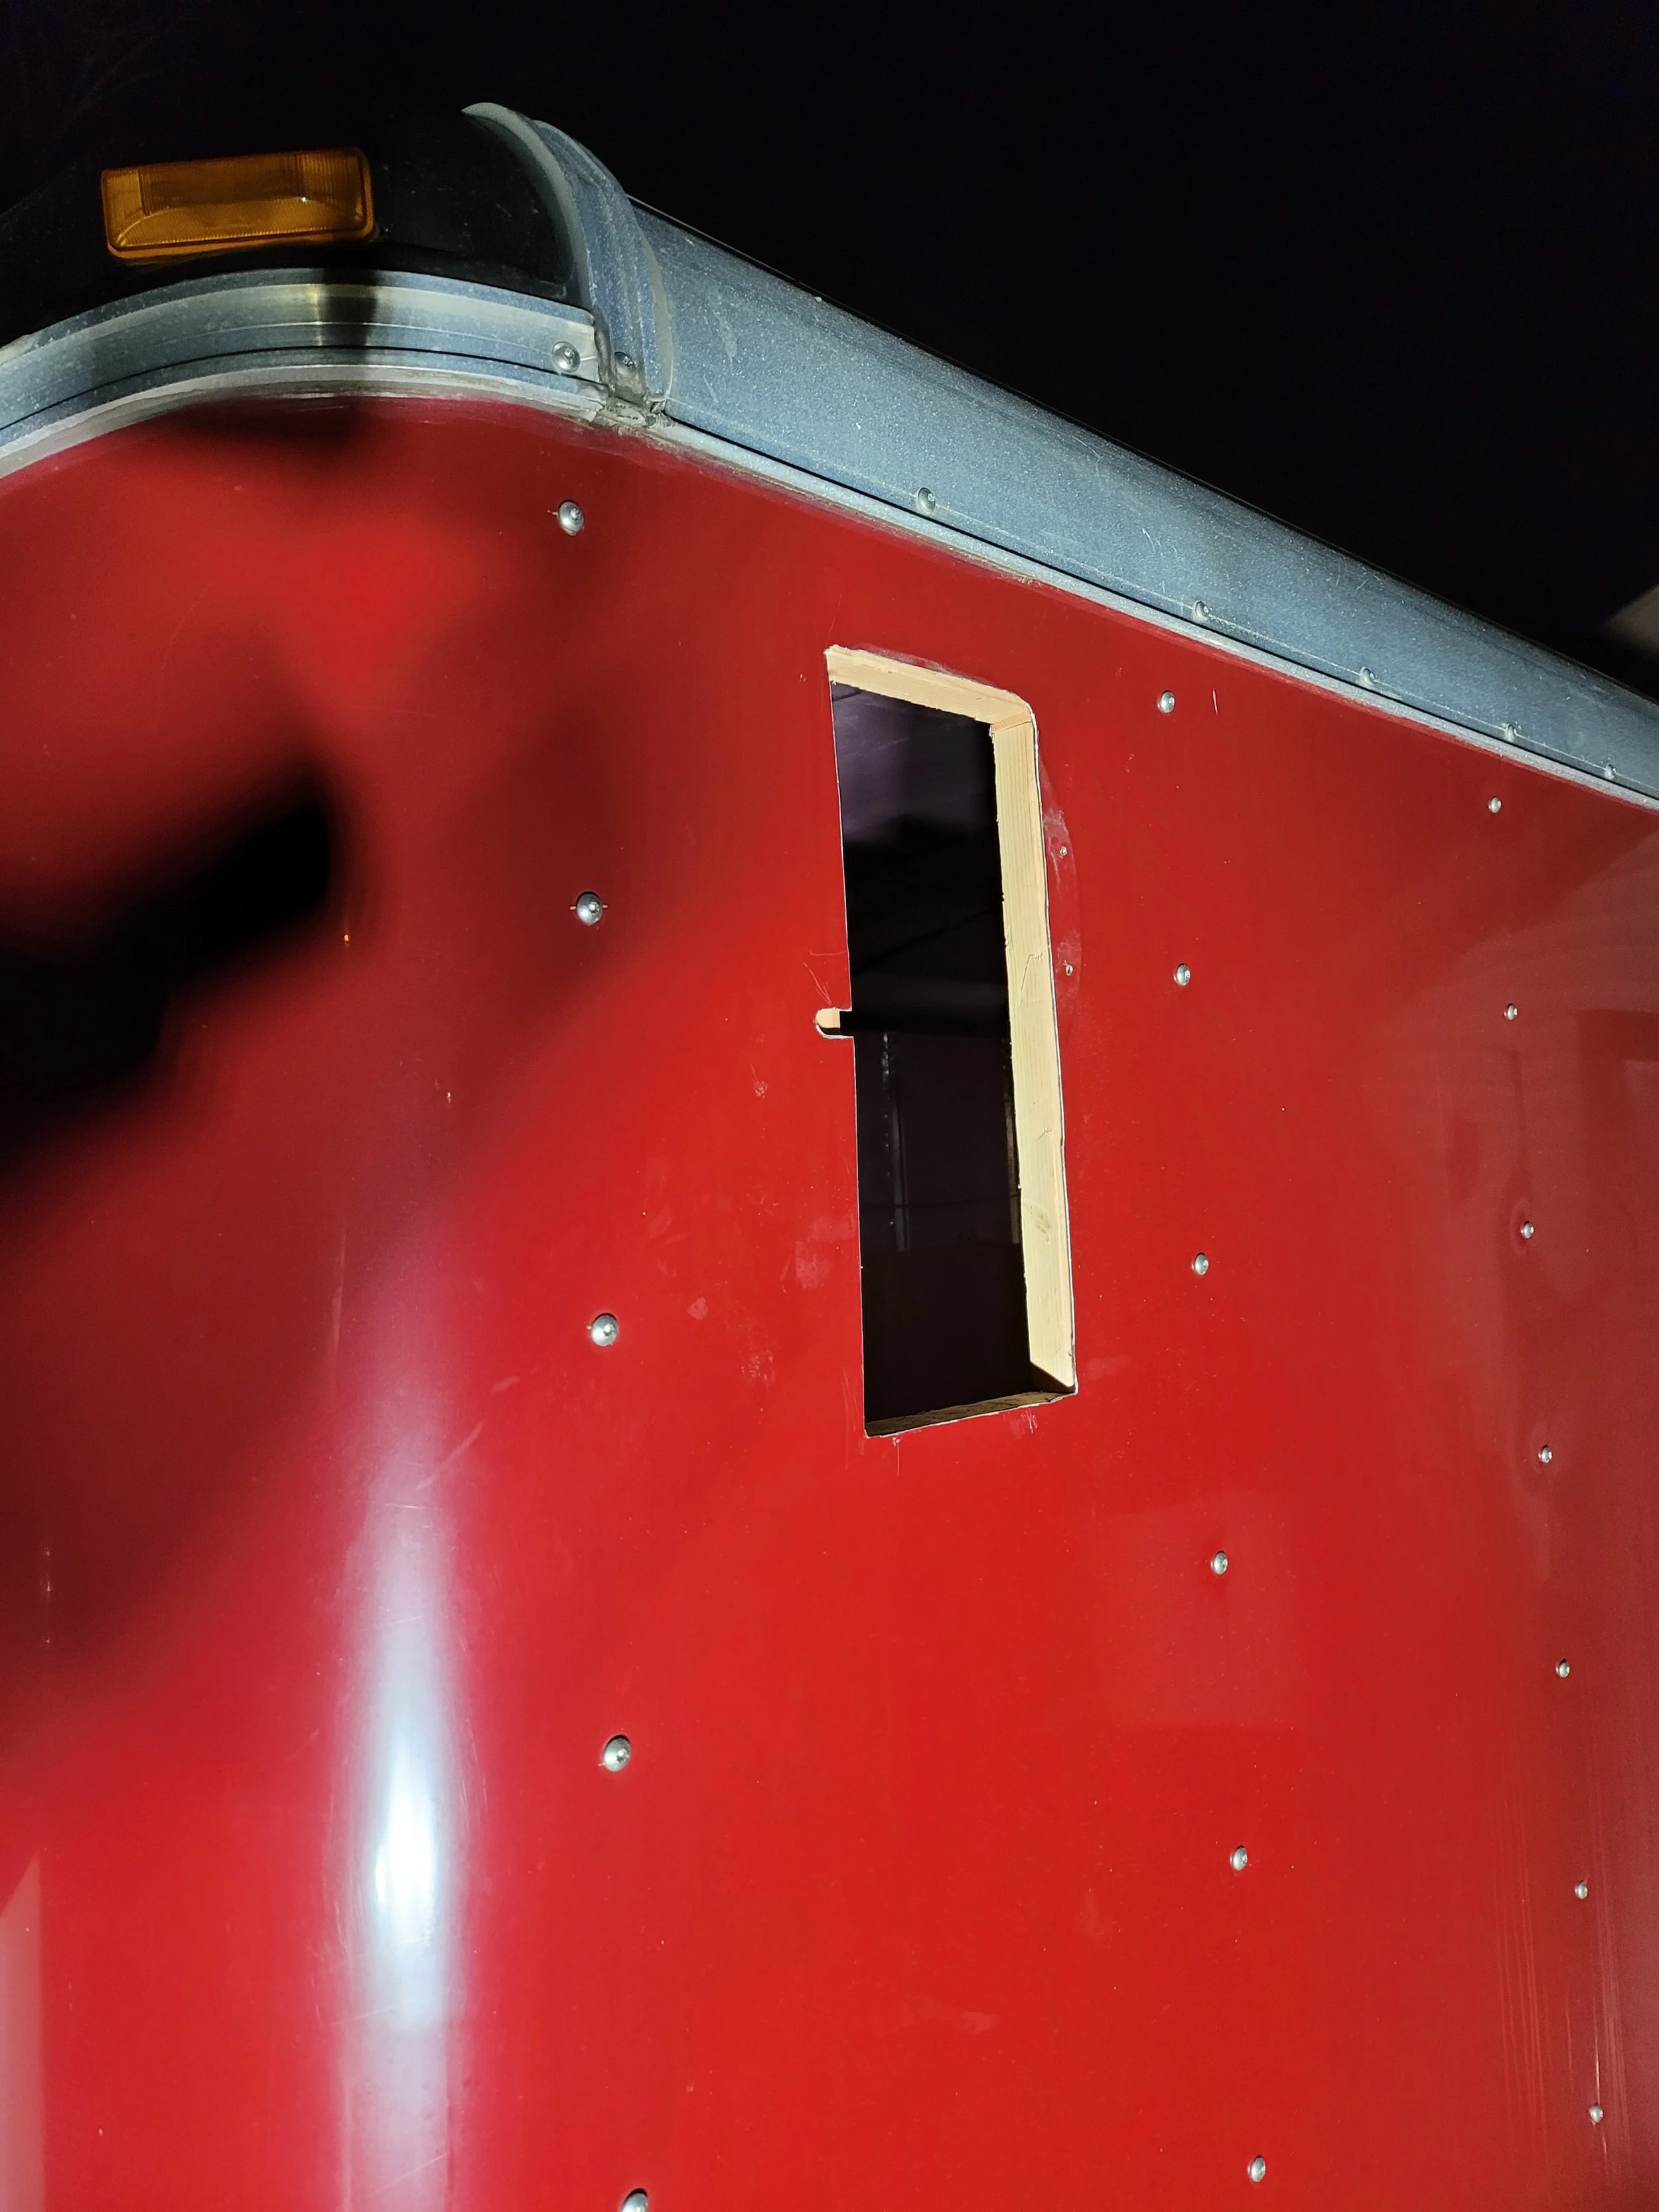

The extractor fan was to be made out of a simple 5” computer fan and this hole was cut based on the sizeof the fan. This was a pretty rough job. It was not a perfect circle but it worked out in the end. The bathroom window itself had an inside and outside piece that joined together so there was less risk of a leak but with the extractor fan there was nothing connecting the inside and out so it was very important to make sure the seal was tight between the inner wall and the exterior paneling around the hole. Flashing tape was added after the clamps were removed and the exterior hole was covered by an exterior vent cover which shielded the vent from rain water getting in. On the inside it was a flat vent cover with a white metallic finish that was used. This extractor fan was controlled by a lightswitch style switch on the wall of the bathroom beside the ceiling lightswitch.


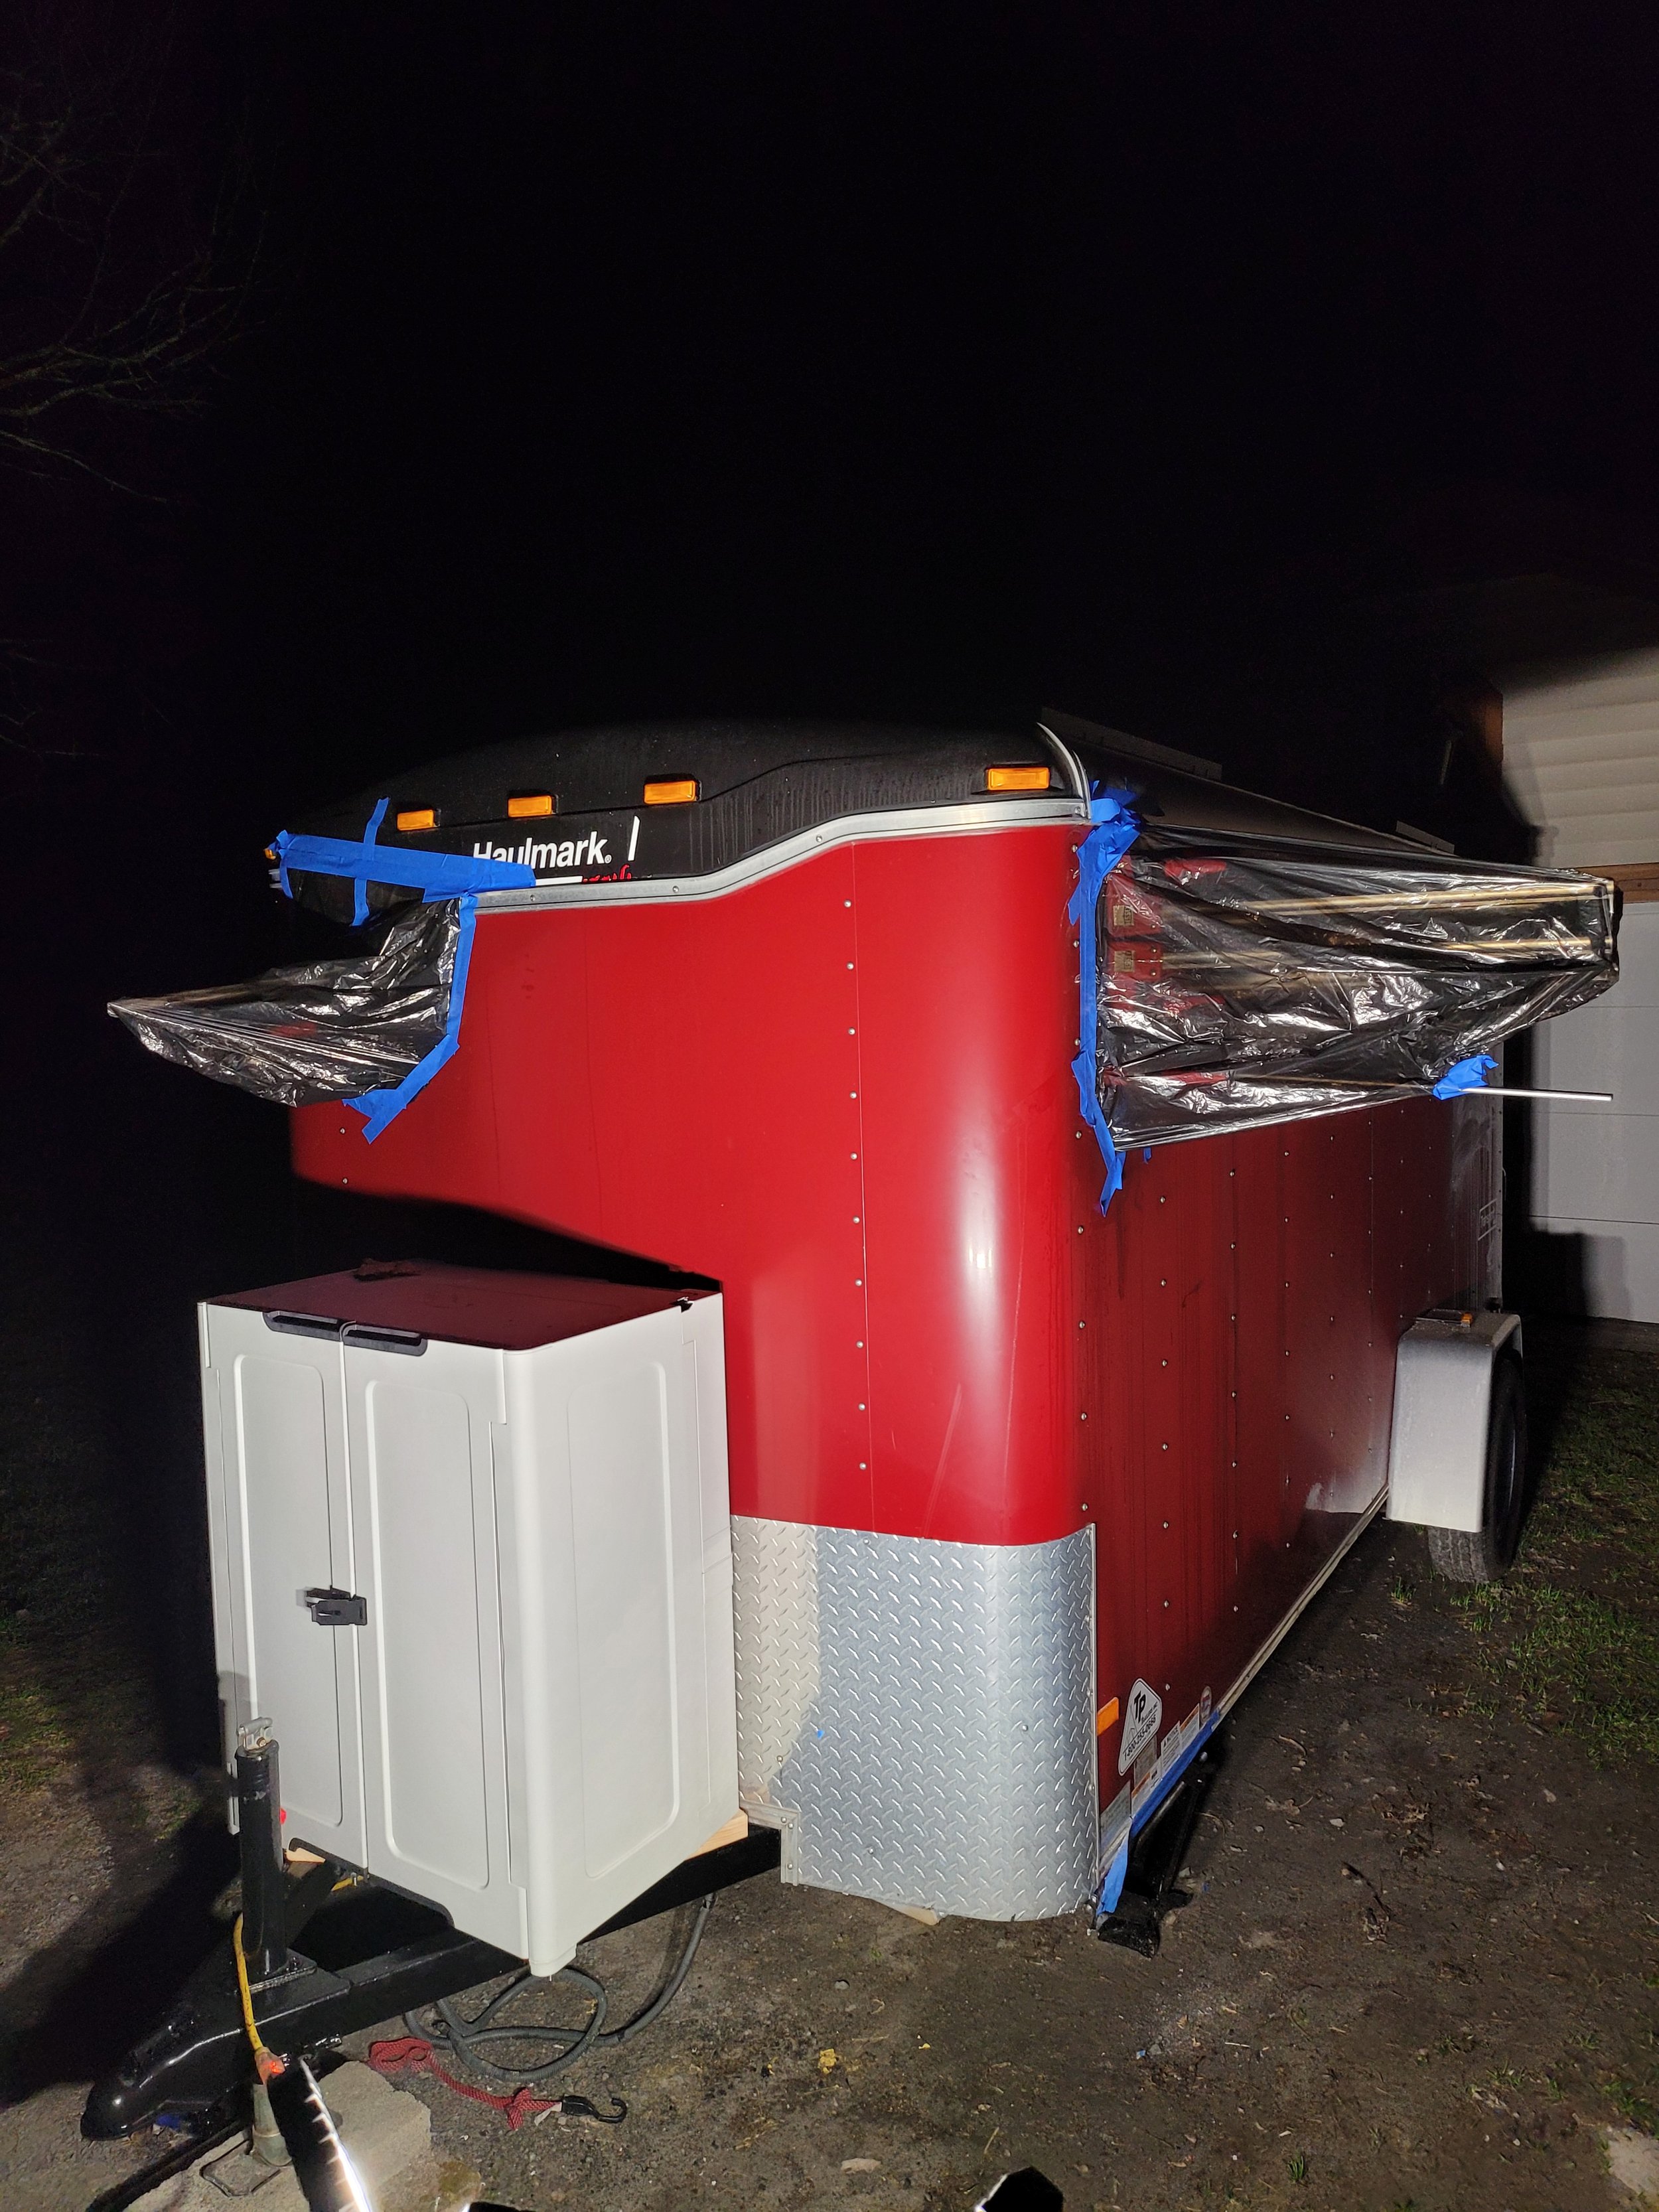

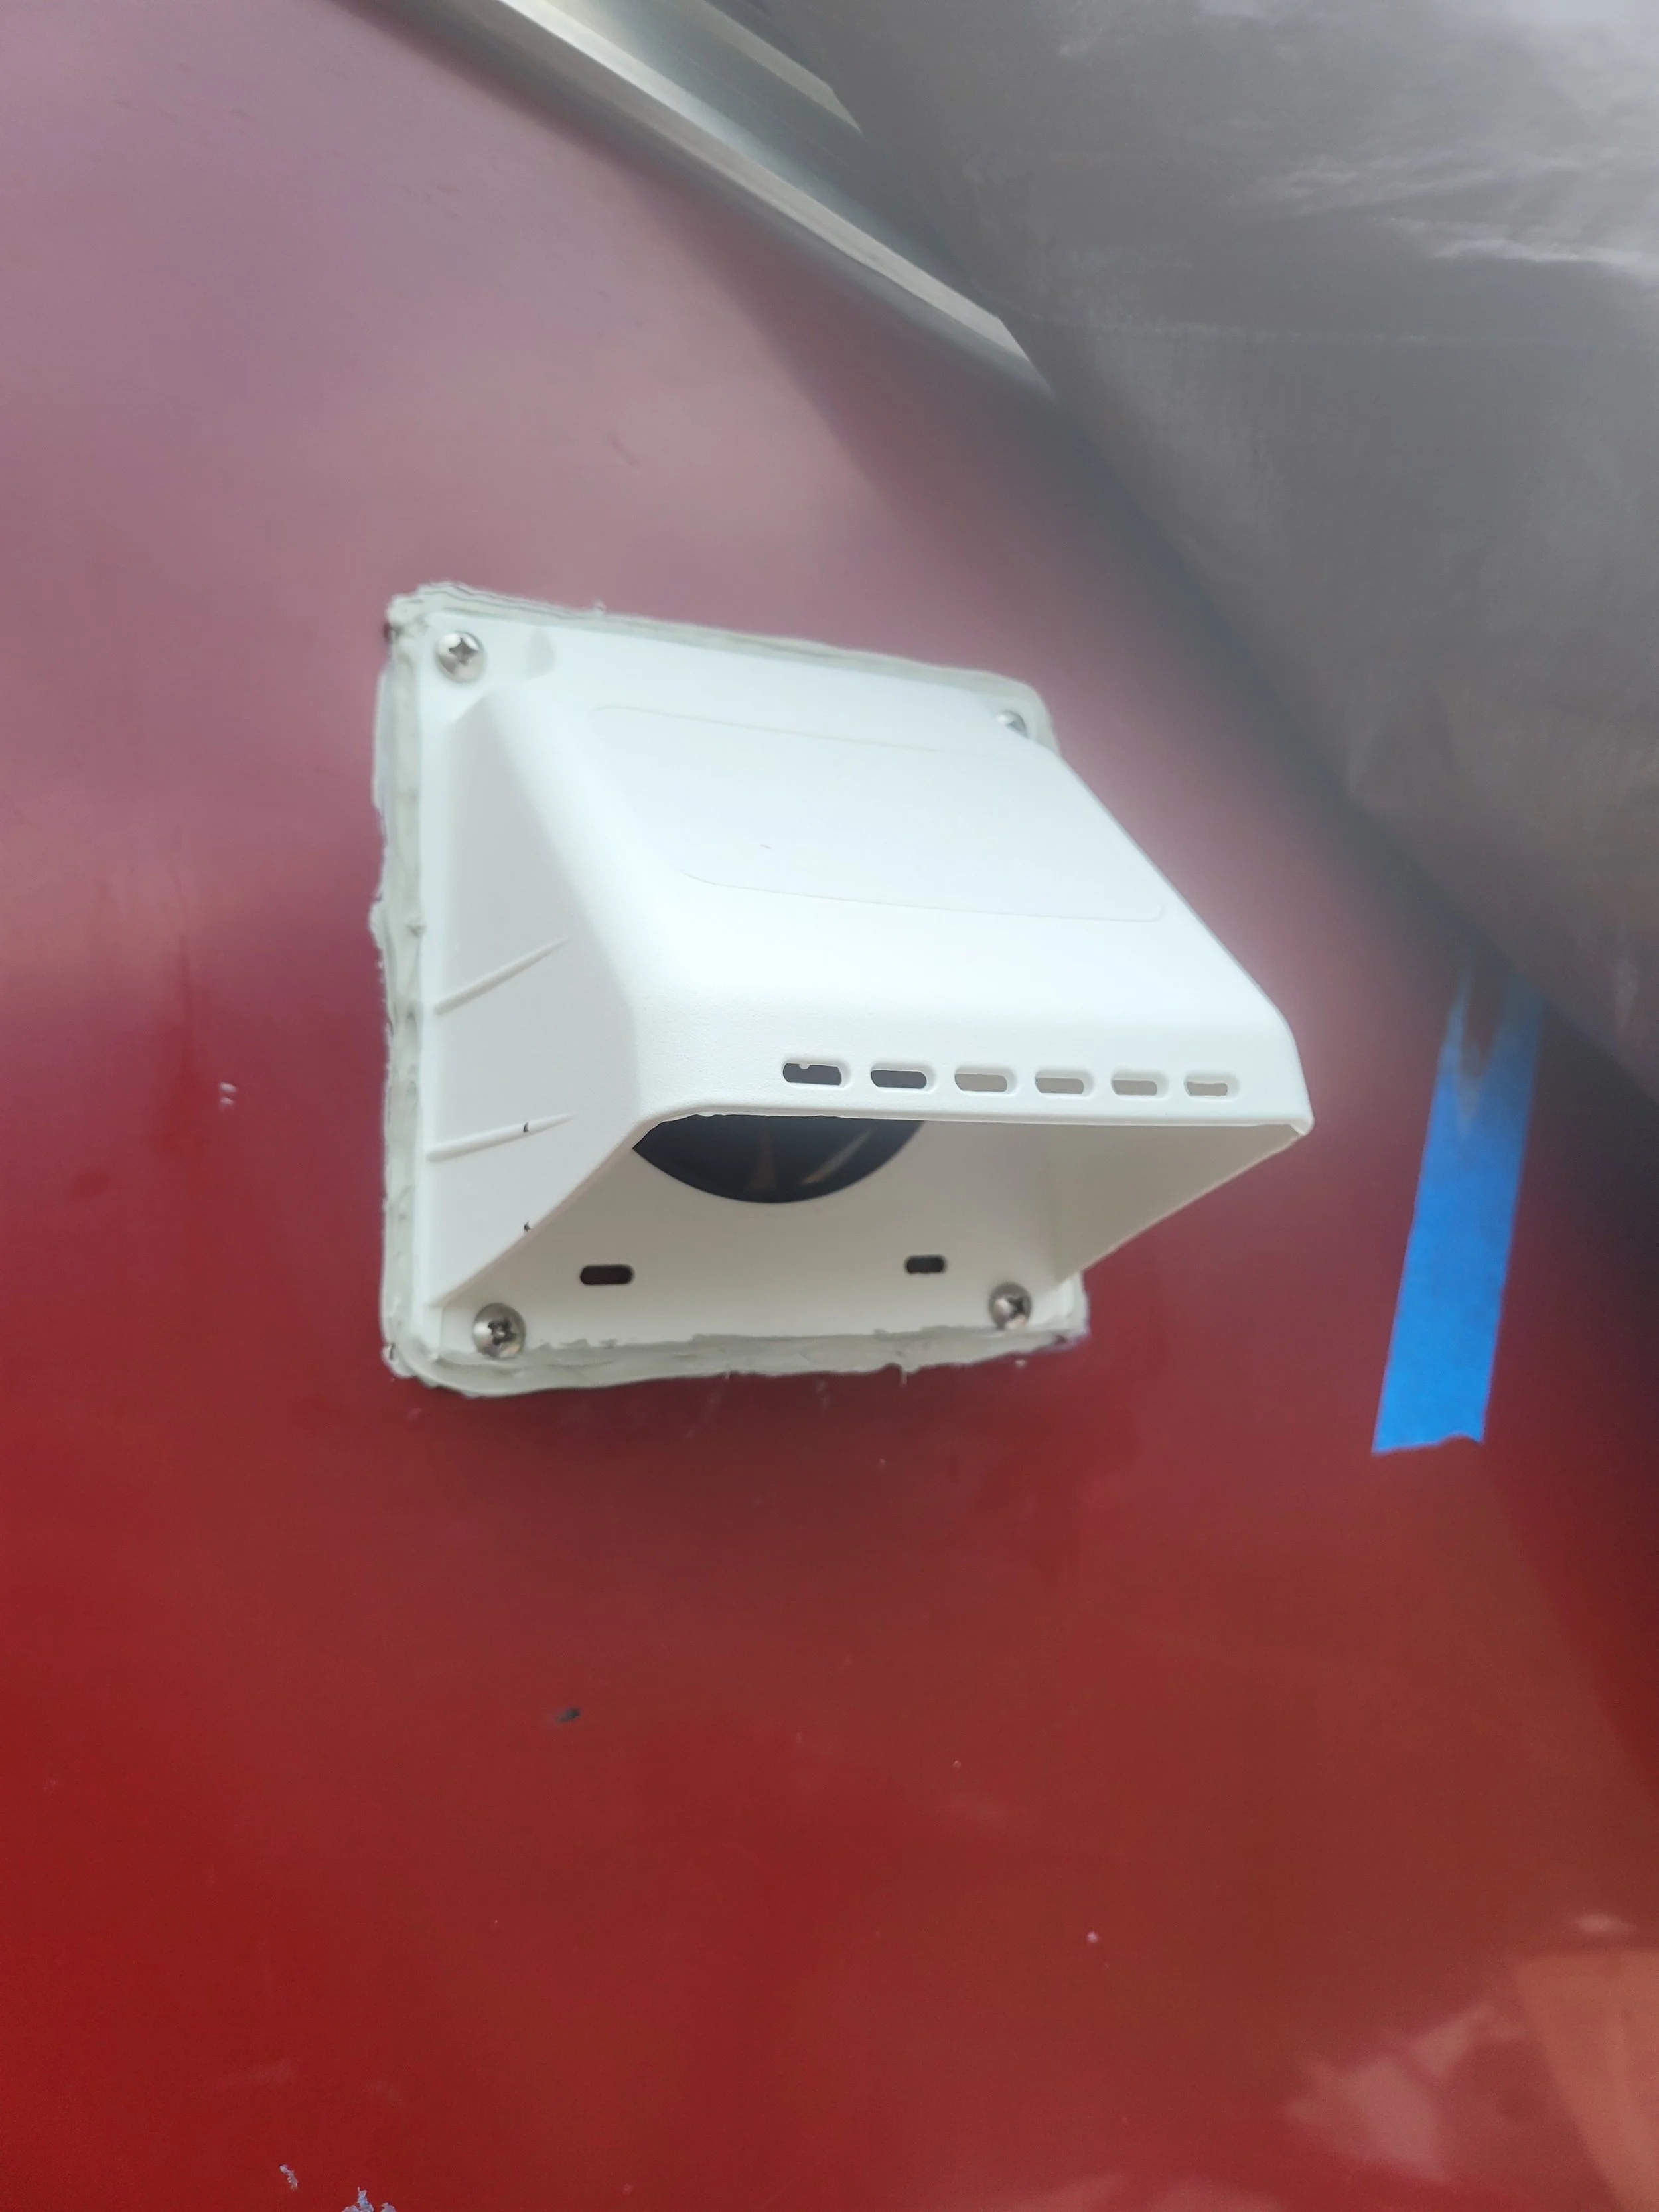
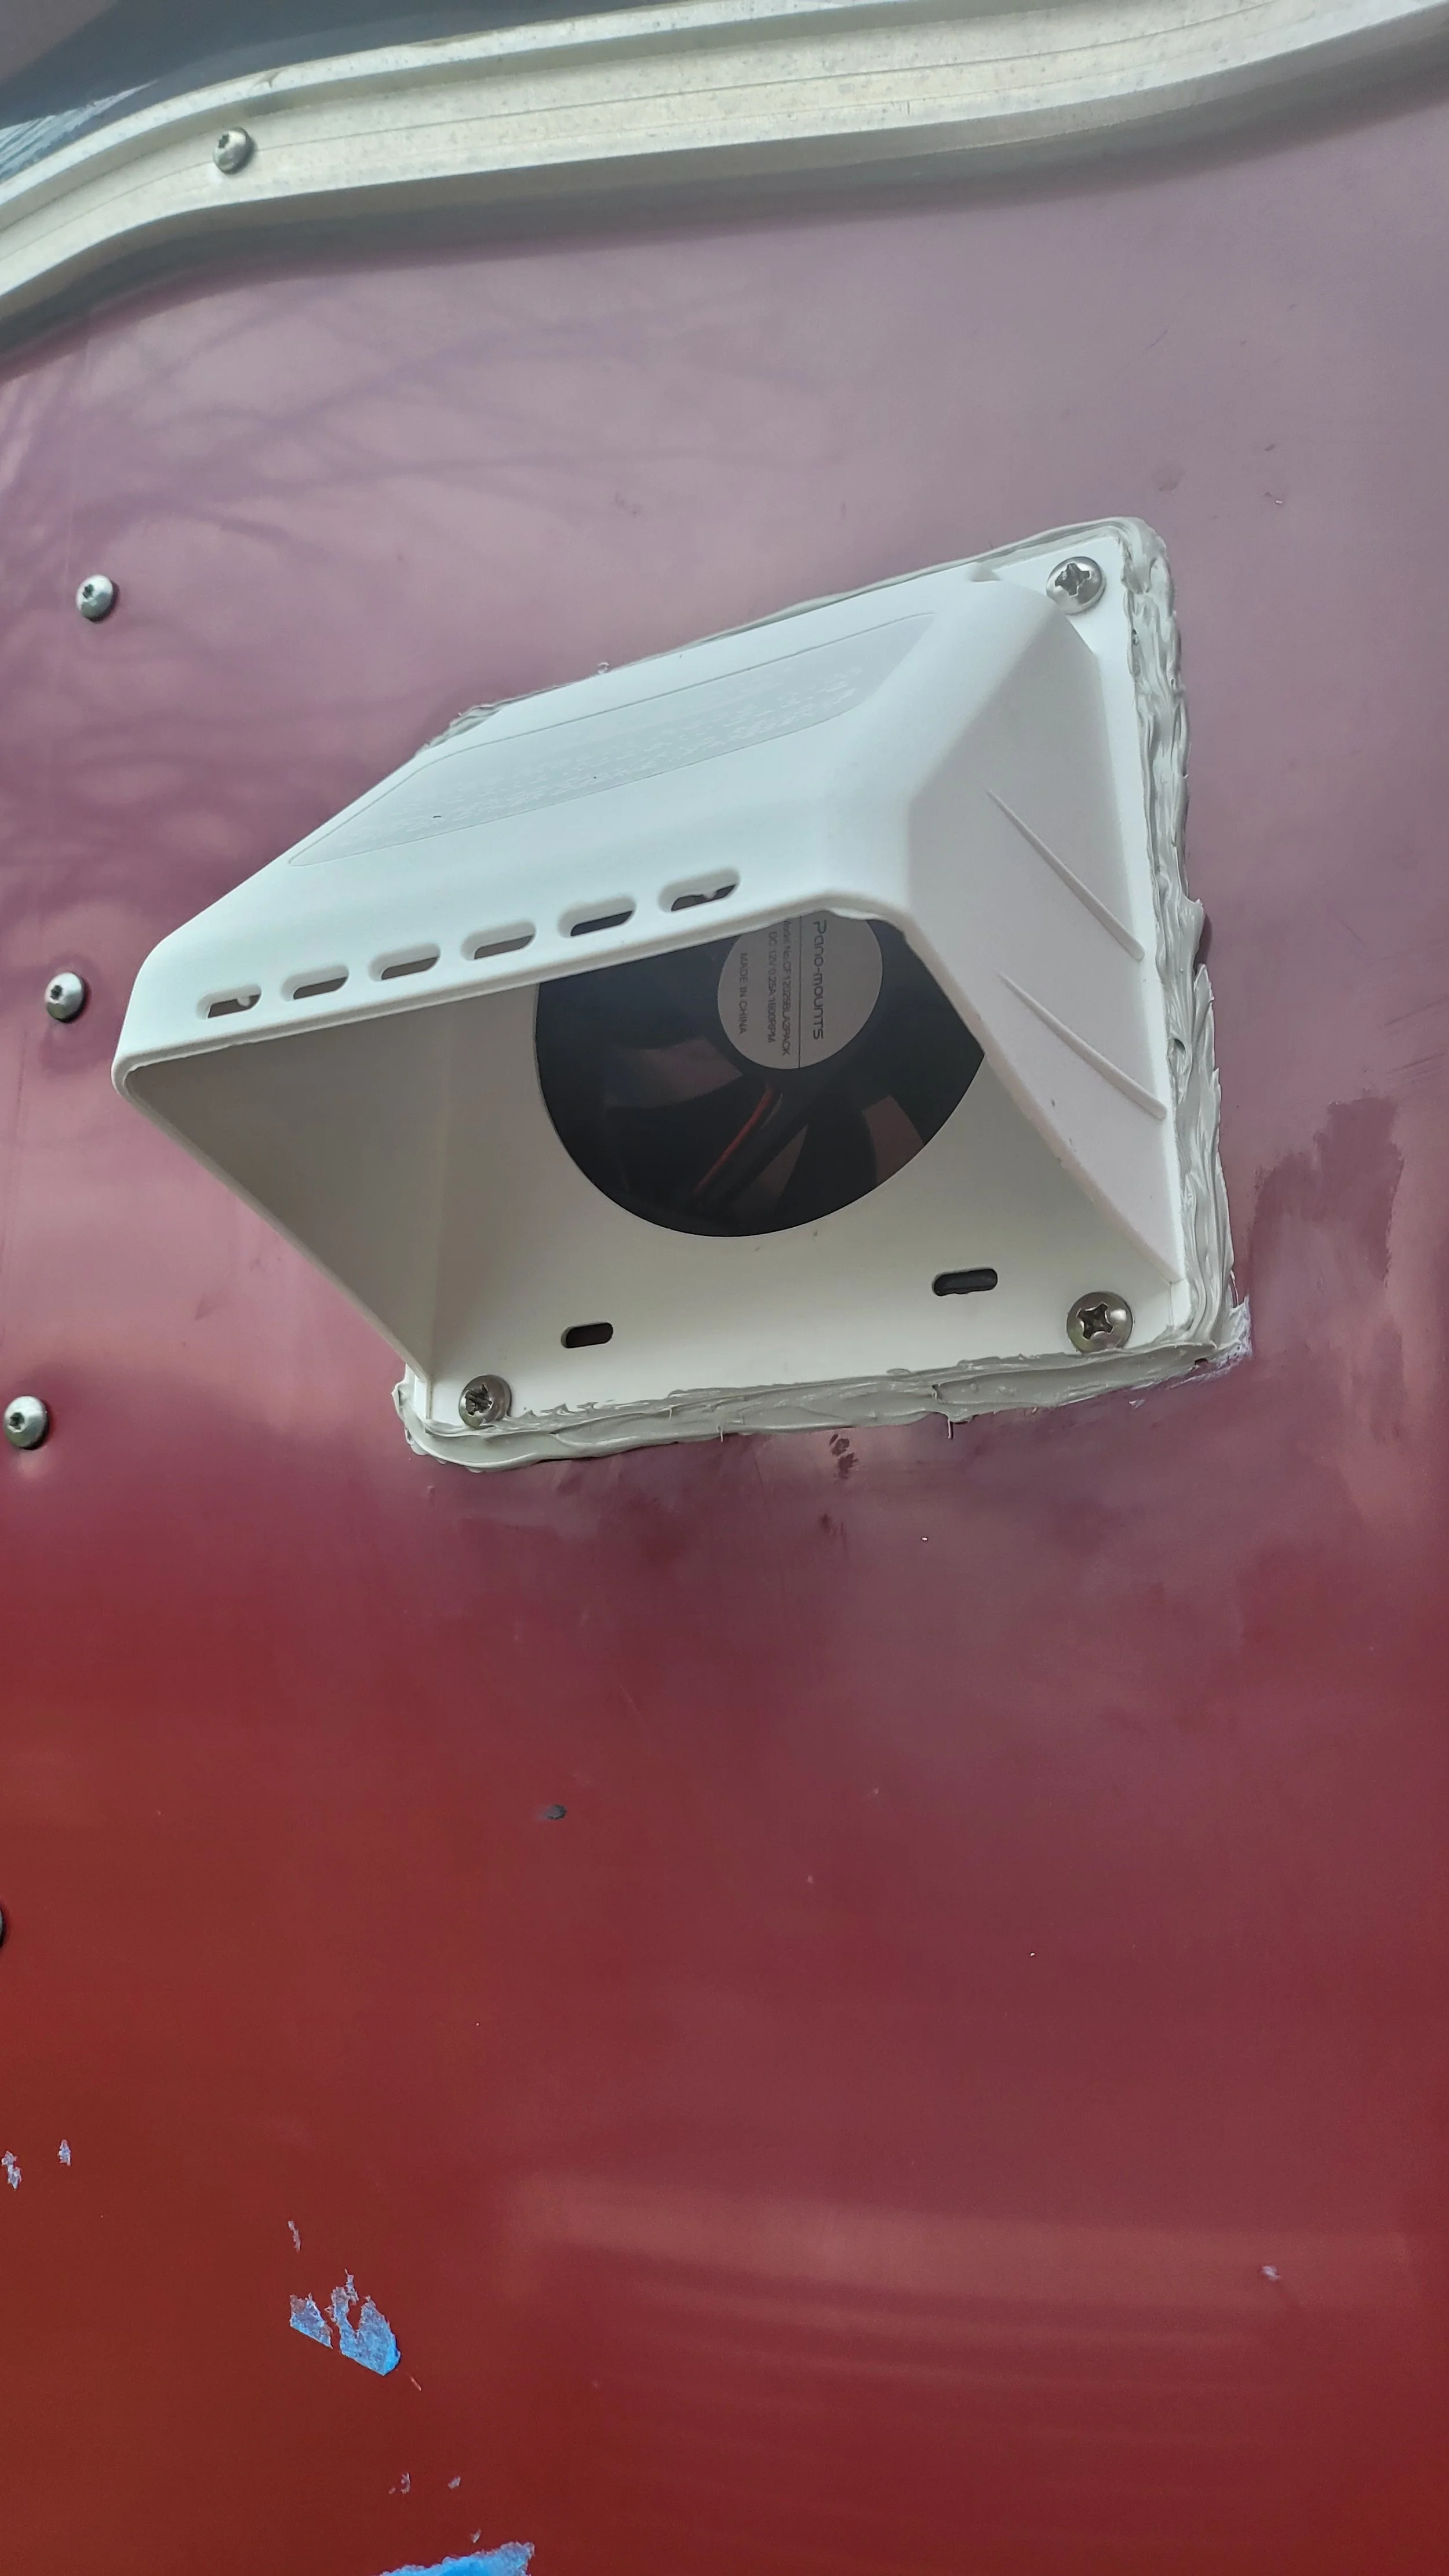
The bathroom itself was all based around the shower pan. 2X4’s were cut to fit under the lip of the shower and make a frame for the walls around it. A ⅛ sheet of plywood was used to make the preliminary layer of the shower walls. The finished wall of the shower was going to be a material called FRP Board or (Fiberglass Reinforced Plastic) Board. This was a textured white waterproof plastic sheet product that was relatively cheap at home depot. It was pretty hard to manage as it was heavy and flexible and came in 4ft by 8ft sheets only. The UPS delivery guy saw me struggling with a big sheet of it one morning and helped me cut it on the table saw. This of course led to a conversation about what i was working on and it peaked his interest. And so every other day i would see this delivery guy and he would come check out the project and we would have conversations about projects he had always wanted to work on and maybe after seeing me do this he would finally return to work on the things he had always wanted to work on. This happens to me a lot and its very satisfying when you can see inspiration and excitement in other peoples eyes because of something you are working on. It can be a great source of motivation to tap into when i am feeling too tired or burnt out to work. With the FRP cut to size with the help of my table saw and my delivery man assistant i was ready to mount it in the shower. This was to be glued to the ⅛” plywood walls using “contact cement” adhesive and a roller press thingy which I had to purchase to only use once. I was very happy with the results. I was skeptical and terrified the fiberglass material would be too heavy, come unstuck and fall away from the plywood. i even applied it to the ceiling across a bend and it came out nicely. without any nails or screws. The bathroom would stay in this unfinished state for a while as i had to complete the floors and ceilings of the whole trailer before i could finish the bathroom entirely. But having the shower cubicle installed and having the bathroom space laid out was a satisfying milestone of the build.
Ch. 6
Bathroom + Shower Framing
Skylight
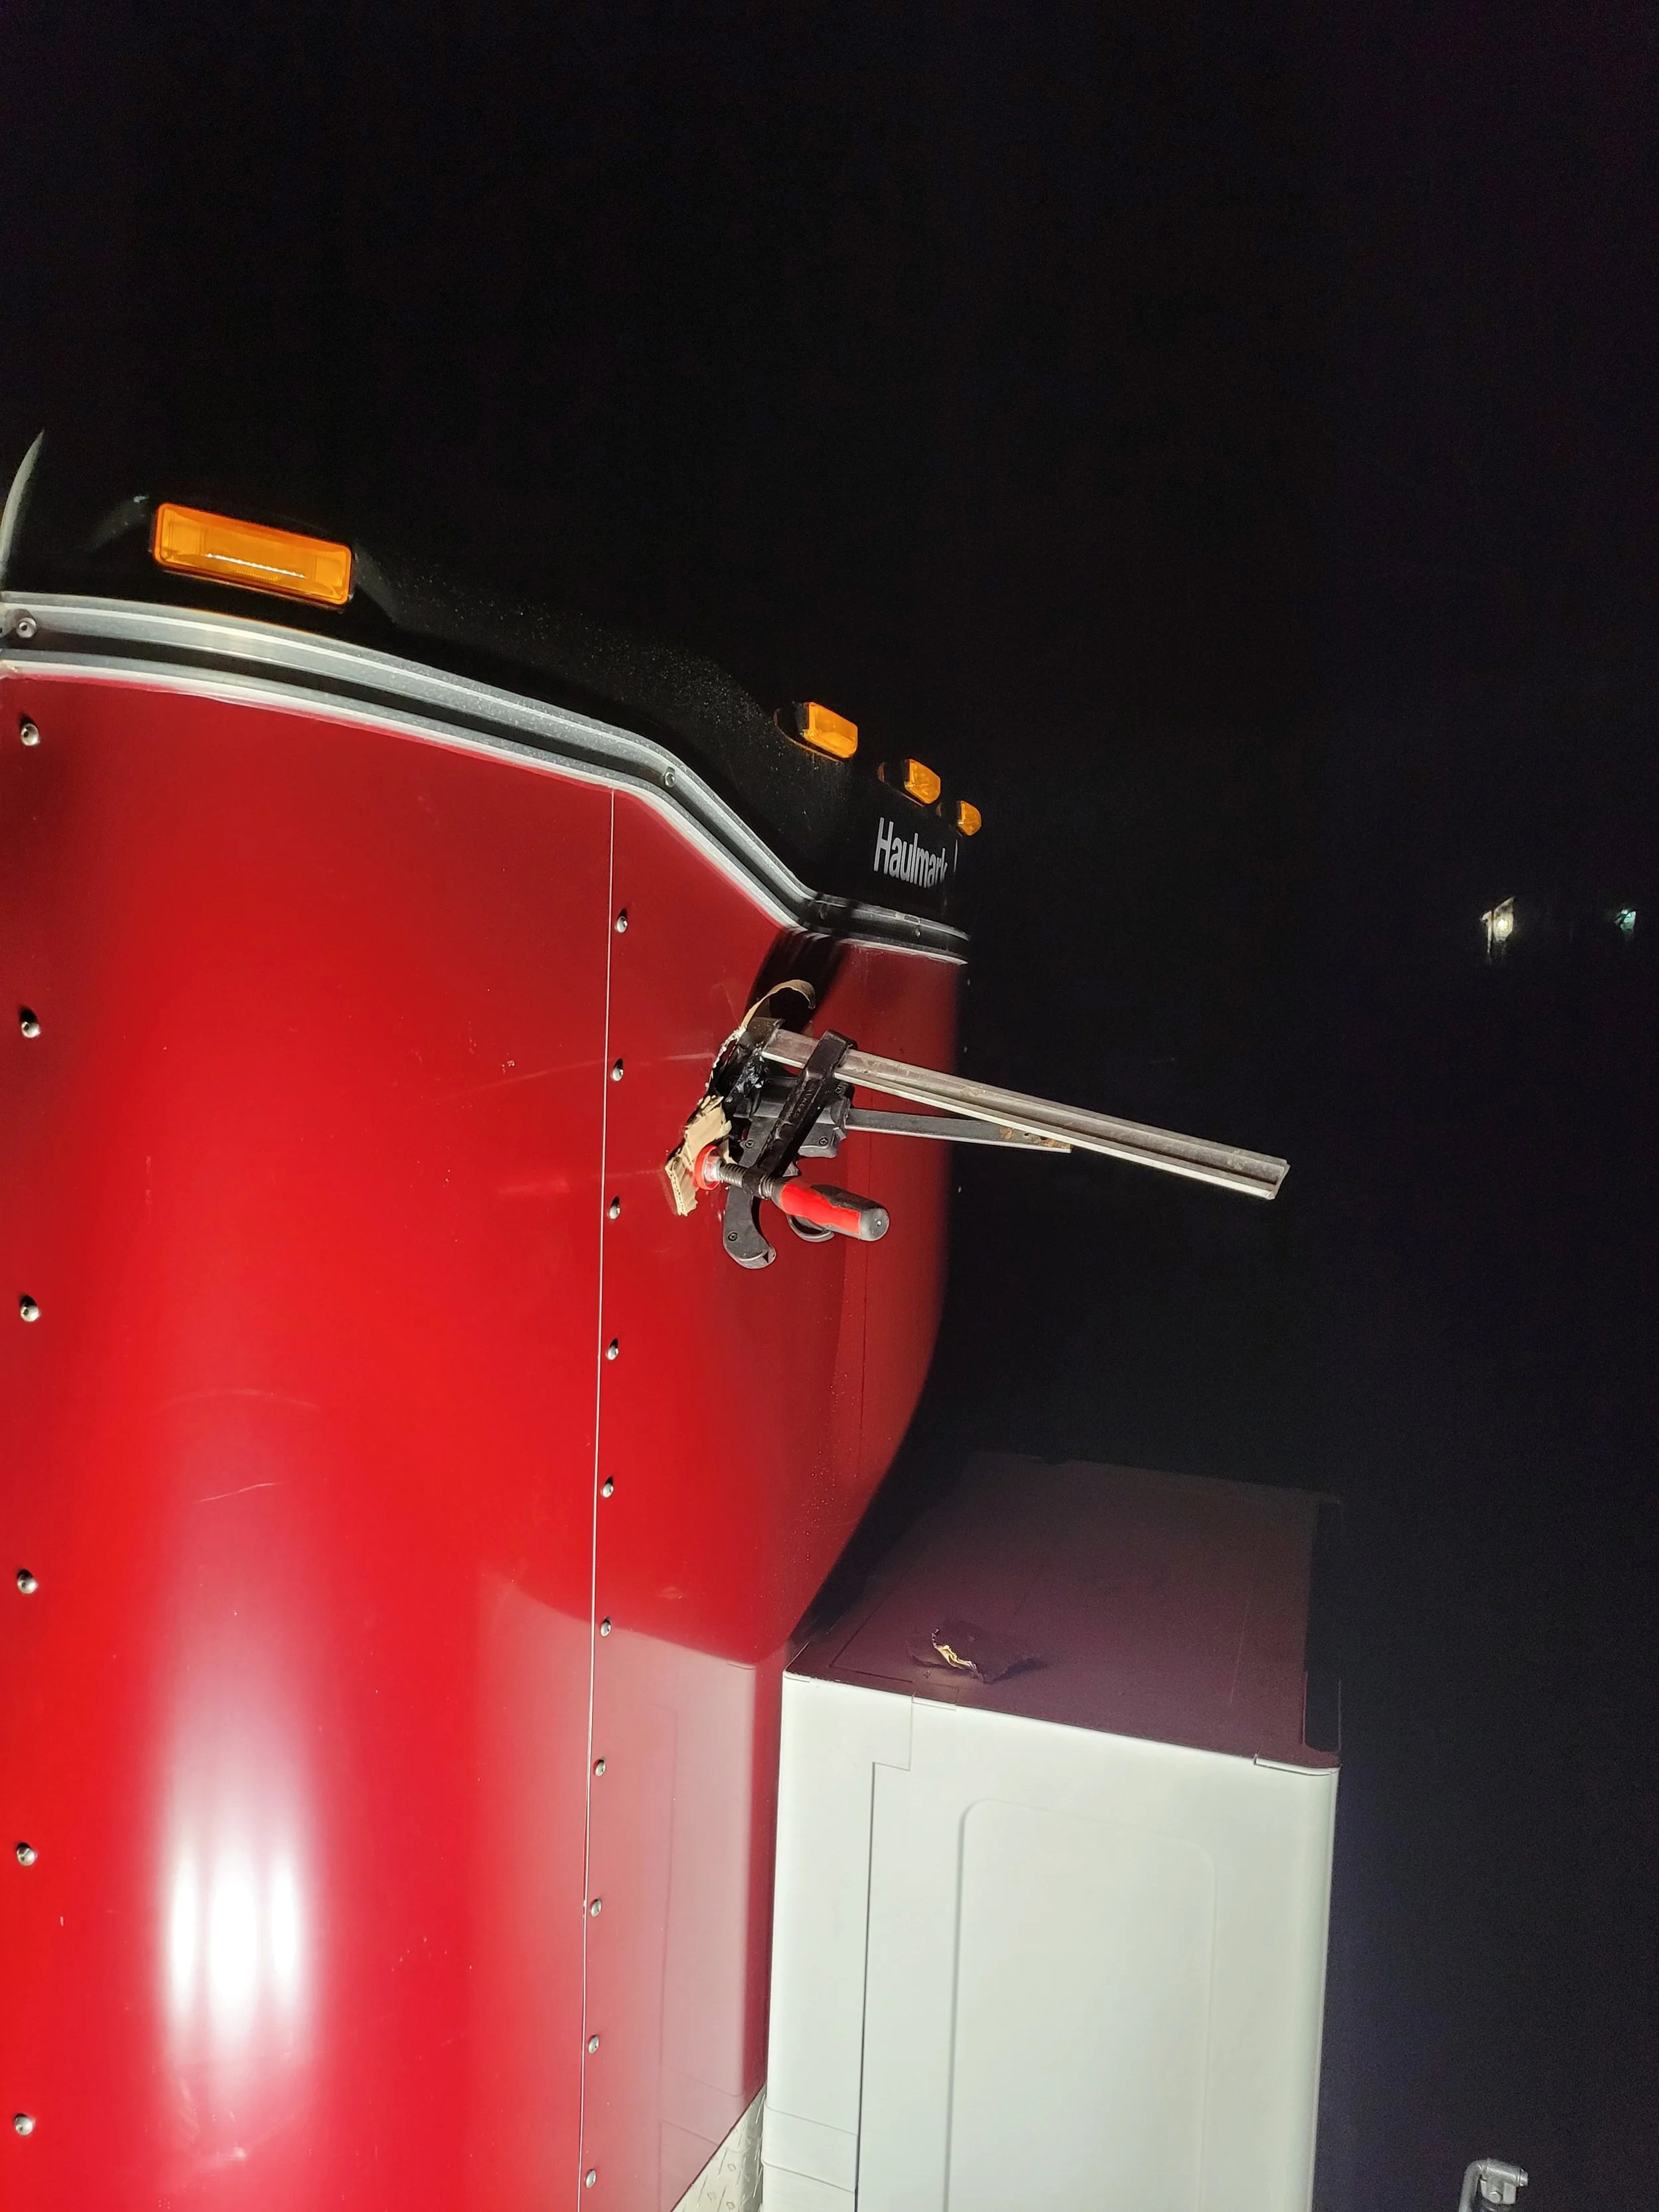
The skylight I chose was a marine boat hatch. Designed to be installed on the deck of a boat that allowed access to the lower level. It was pretty nice, I liked it a lot. It came in one piece and was pretty self explanatory. Cutting the hole out was a bit nerve racking but it worked out well. The only issue was that hatch was designed for a flat roof and the ceiling of Kels was slightly curved, To solve this problem i would have to create a square frame similar to that of the bathroom window and by clamping and gluing it to the exterior paneling hope that the roof would take a flat shape in the section that it was glued to the frame. The clamps were left in place for over 24 hours.
When the adhesive had dried I added flashing tape around the opening frame like on all other window holes. Then I slotted the window into place. On the lip of the window itself where it would be fixed to the roof I used the construction sealant called Henry that is designed for RV windows and roofs and I also used butyl tape as it creates a good waterproof seal under pressure.
The window was screwed into place using sheet metal screws in the holes provided and then a bunch more of the henry flashing material was added on top between the window frame and the roof material to ensure there was no chance of water getting in. The skylight has two handles on the inside that has a locking mechanism and a way to keep it only slightly ajar. It also opened fully and allowed you to get on the roof if you needed to. This was very helpful when it came to the solar panels. And when the trailr was finished you could stand on the bed and be halfway out of the skylight. It was great.
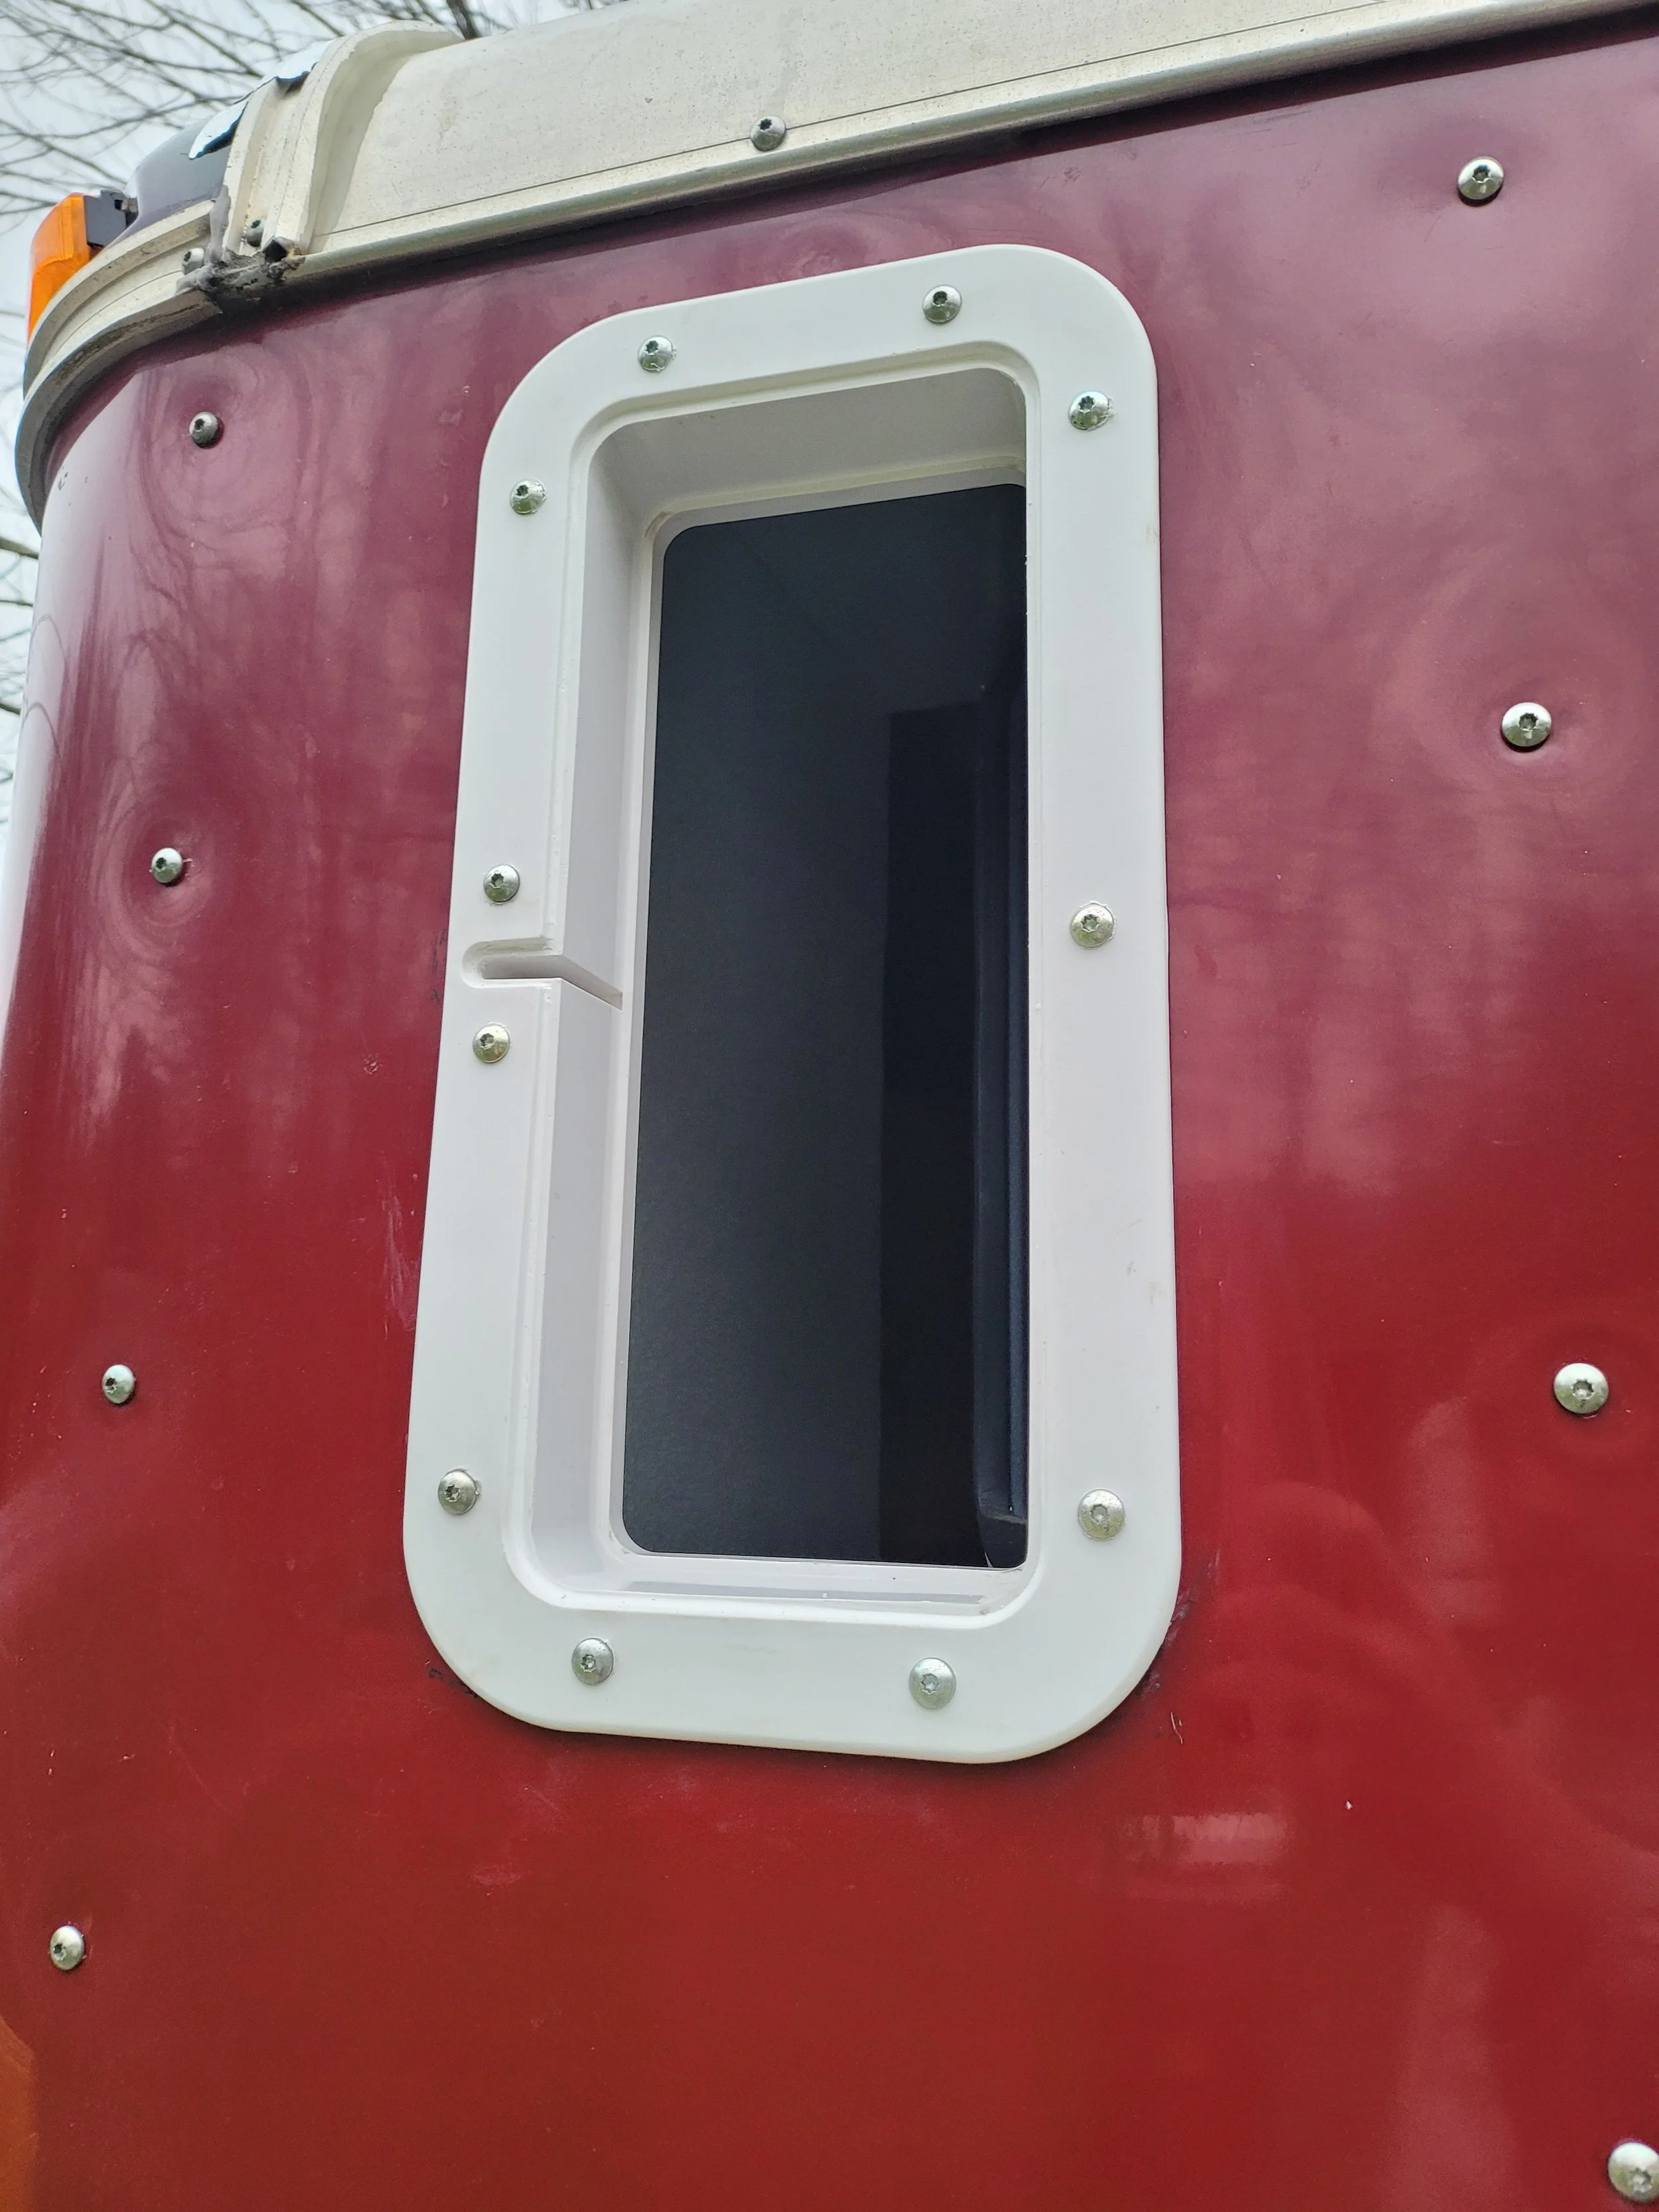
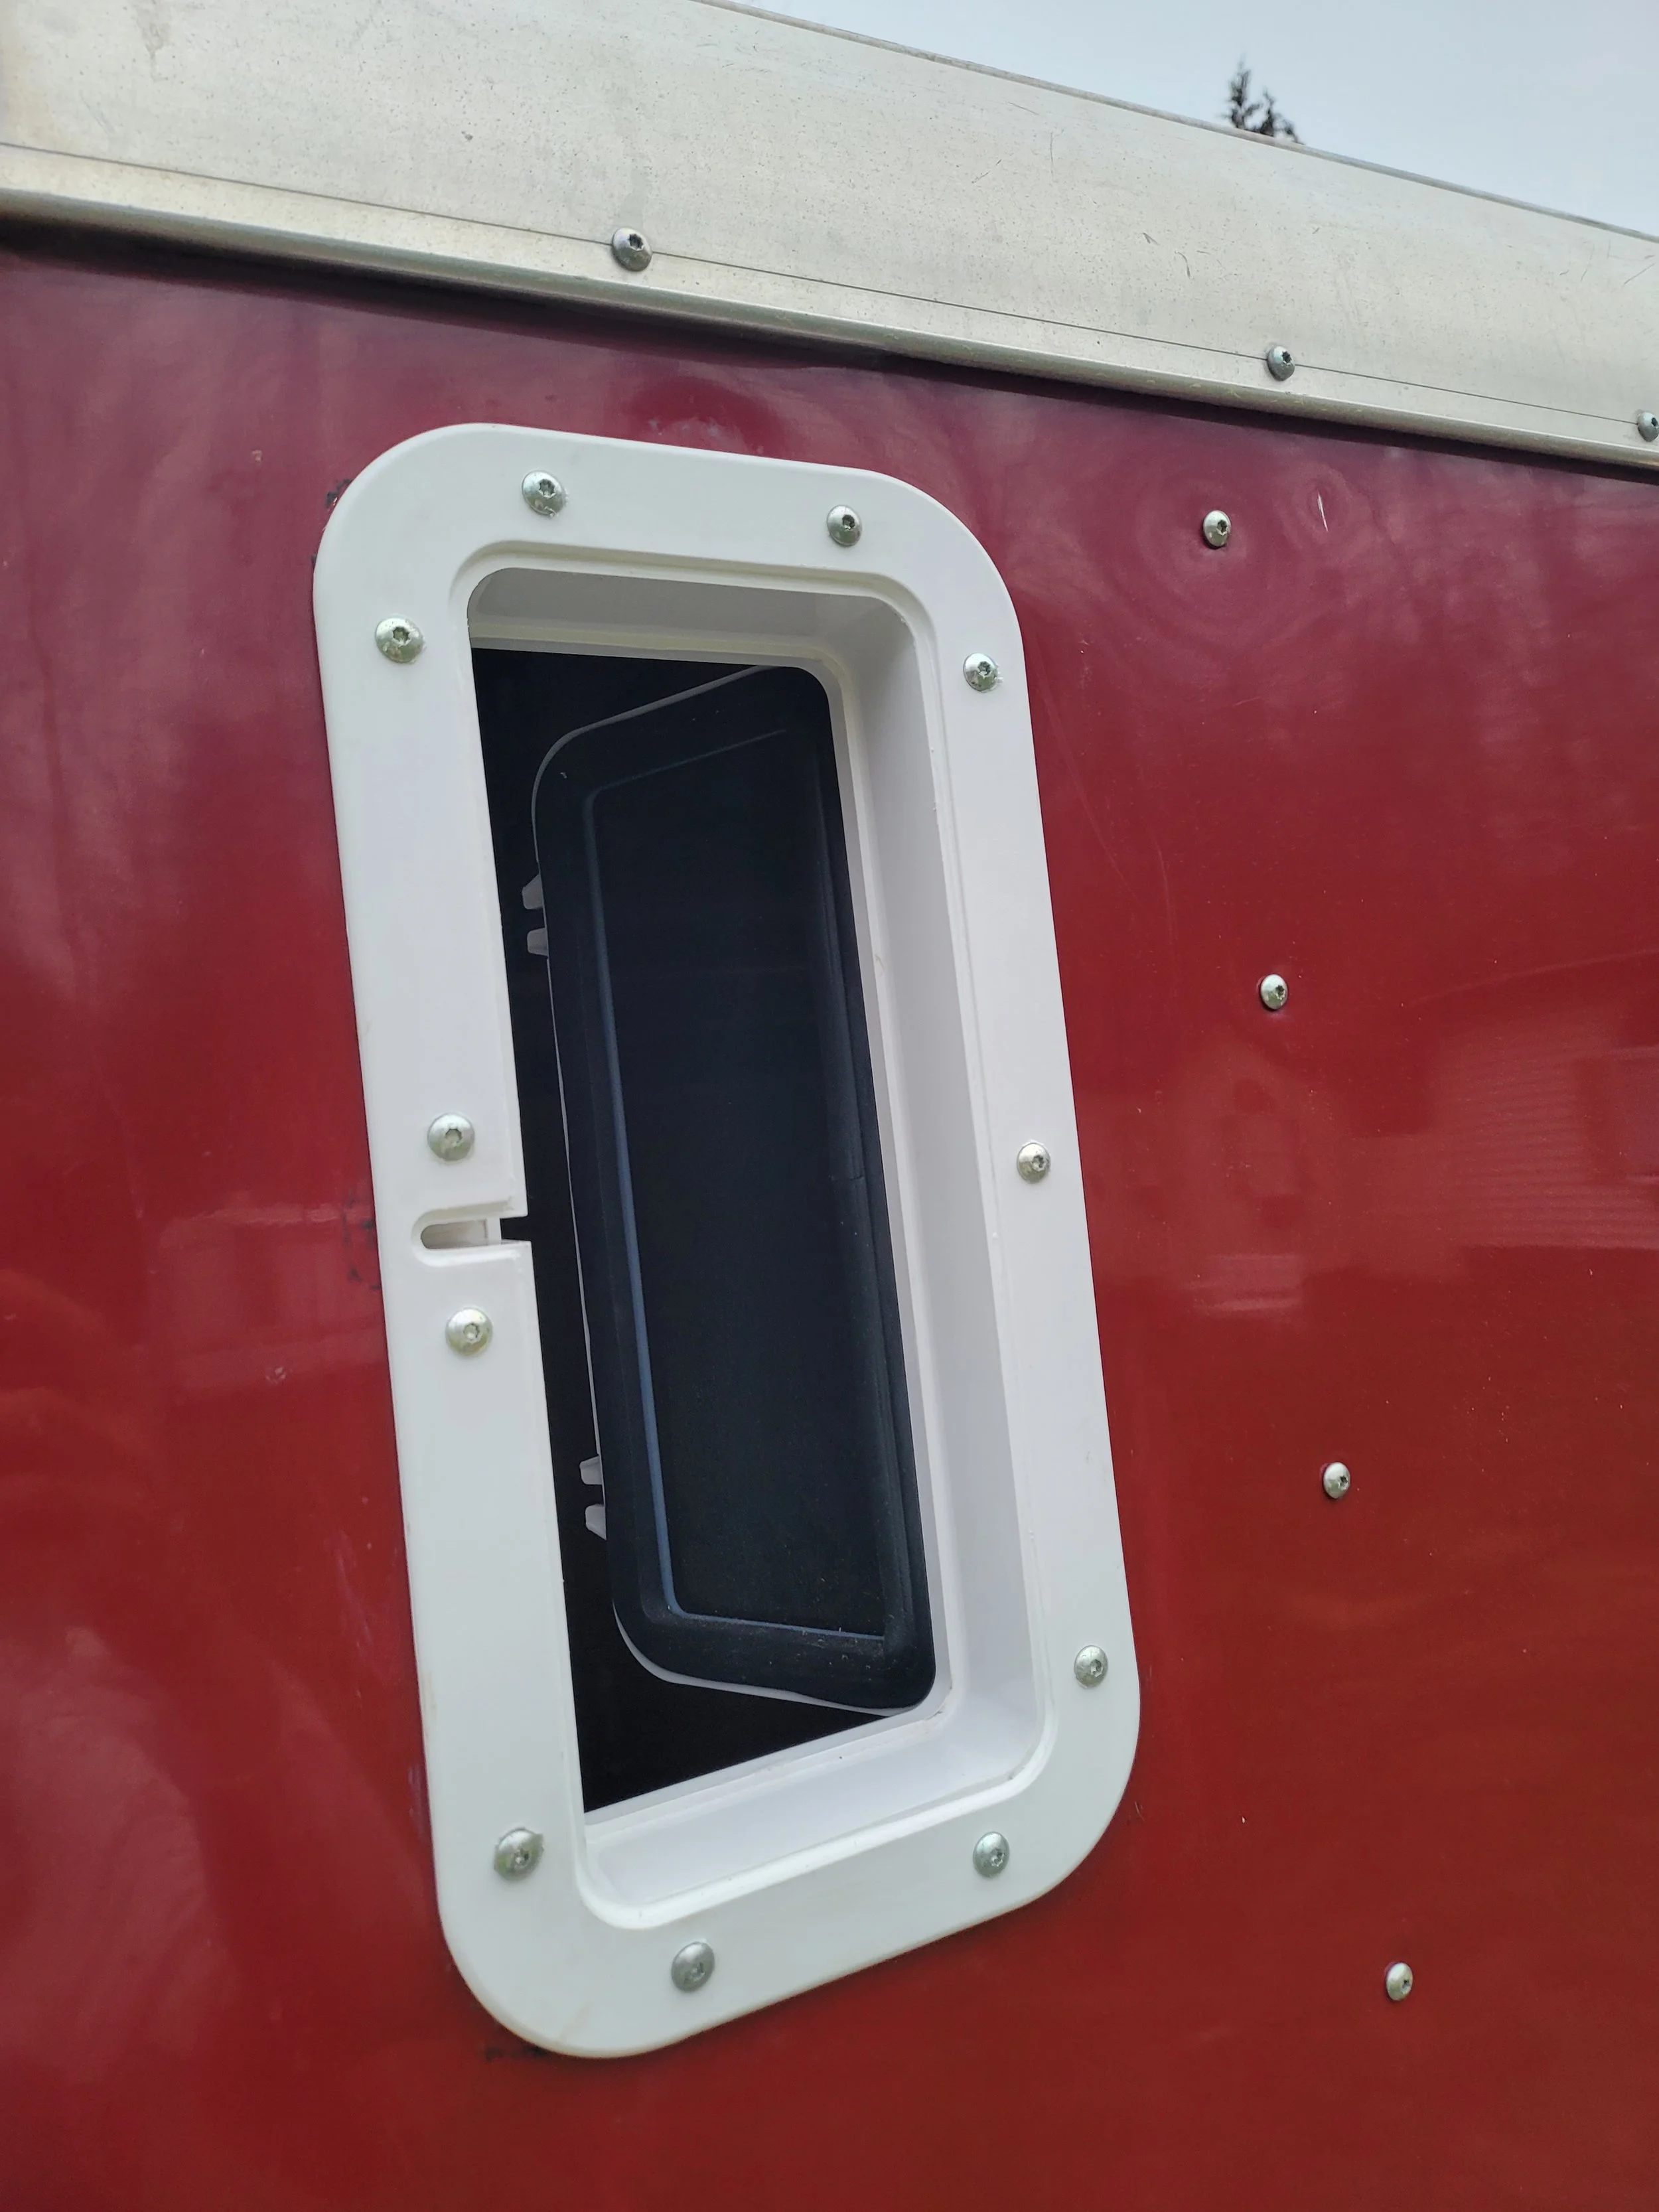
Ok so now where do I put the air conditioner? In order to work it needs to be sticking most of its body outside of the trailer. I would have liked to mount it to the back wall. Except the drawbridge takes up the whole back wall and needs to be raised and lowered daily. I would have liked to it on the front wall. Except the bathroom and shower was there. So it had to go on the side wall. But where on the wall? The door helped decide where the shower was, the shower helped decide where the kitchen counter and sink would go, the kitchen and shower governed where the plumbing system would be located. The kitchen counter needed a window above it. So with all of these limitations in mind i decided to place the Air conditioner underneath one of the dining seats. It would be mounted on a drawer slide and it would slide in and out of the trailer. When driving it would be stored safely inside the trailer. Again we are looking for a professional finish. I would have to find a hatch or door that would close behind the AC. This required cutting another large hole in the trailer and making sure the hole and hatch/door that is installed is waterproofed.
To begin installing the Air Conditioner i began by building the seat out of plywood and 2x4’s cut to size. The air conditioner would be sitting in a tray that was on drawer slides underneath the seat. An exterior hatch would be opened and the AC tray would slide out and stick out of the trailer. This way it was in a convenient place that was out of the way. It wasn't permanently sticking out of the trailer and gave a professional finish and feel. It was a little tricky to get right, custom like everything else in the trailer. The AC drawer/tray needed to be modified to allow the power cord to not get pulled during the slide out operation. I also added wooden strips to the tray that blocked the gap to the outside when the AC was operational. A 120v outlet specifically just for the AC was installed in the box next to the AC that contained all the electronics. The seat was constructed ensuring the AC tray and wires all were contained inside the legs. The seat and legs were then removed and the AC tray and slides was installed. I painted the seat and tray with a white glossy spray paint before installation. I made the hatch in the same way as the skylight.
The hatch door came with a cutout template. I cut the hole. Build a wooden frame around the hole. Glued the aluminum sheeting to the frame. Added flashing tape all along the opening after the clamps were removed. And this time the door was a marine boat hatch without a window. I Installed it the exact same was as the skylight. I added butyl tape and henry adhesive along the inside lip of the hatch before pushing it into place and adding sheet metal screws in each hold provided in the doors lip.
This time instead of adding a suprlus amount of henry i added a neat bead of black silicone around the edges of the hatch door on the outside. This completed the seal between the hatch frame and the exterior wall. I was very happy with the aesthetic result. It was a very satisfying step to install the sheet metal screws and see the Ac slide in and out of the trailer. When the AC drawer was sticking out of the railer there was still a little gap above the AC roof to the opening of the hatch. It was a gap of ¾” along the top of the AC. To combat this i added a strip of wood olong the top of the AC. there are even screw holes for accessories built to do the same thing; Window AC’s come with these little flares that block the gap to the outside.
In my pursuit of a professional finish and making everything fit and look pretty i failed to rememeber a key factor of physics. Hot air rises and cold air falls. And it takes a lot of energy to cool a tin can baking in the sun from the bottom up. Its like fighting an uphill battle. You should never place an air conditioner on a level below where you sleep. In hot humid nights and locations it would take forever to cool the whole trailer. With the floor level of the trailer becoming cold and there being no significant temperature change to the bed level 3 ft above this. This could be quite costly when running on battery power as there was only so many hours available of power for the AC. When plugged into shore power it would not be an issue of course. we solved this issue by adding a portable fan and placing it beside the air conditioner to redirect the air around the trailer. This ended up working quite well but took quite a while for us to figure out the best method for doing it. I cant tell you how many trips i made to HomeDepot while Towing Kels around the country. I didnt fecking finish the thing till the trip was almost over. Fucking AC door and the whole right side got ripped off in a close call before that too, when a tire blew on a highway . For anyone reading this that has lived long term in a vehicle you know what its like getting good at living small. It takes time but you figure it out like anything else.


